Read before this
Read these direct prerequisites in order. Each guide lists any earlier context it assumes.
Use this when you need a complete starting brief
Use a recipe when you know the video outcome but are unsure how to describe the audience, source priority, structure, visuals, length, and call to action. For a product demo or explainer, you can ground the brief in a screen recording, ordered screenshots, a deck, a public URL, approved product assets, or a combination with clearly assigned roles.
Before you start
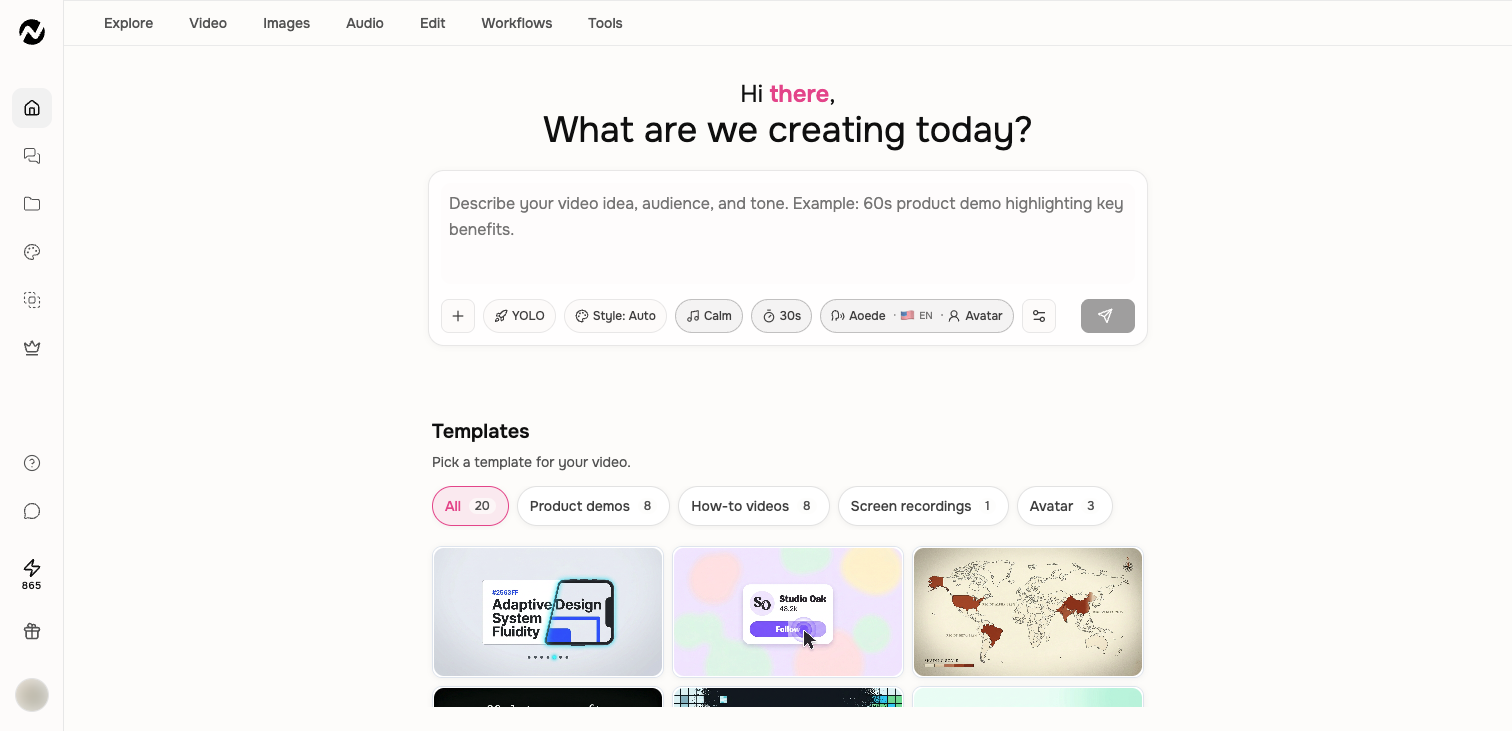
You can prepare the brief while signed out. To follow the workflow in Studio, sign in, open Home, and use an account or team context where you are allowed to create. Have approved source material ready before you submit a factual video.
Before you paste a recipe
Replace every bracketed placeholder. Attach the referenced files, remove instructions you do not need, and never paste secrets or material you are not permitted to process. These are newly written generic recipes, not customer prompts.
Product demo from recordings, screenshots, decks, URLs, or assets
Create a [45–90]-second 16:9 product demo for [audience]. Use [recording or ordered screenshots] as the visual source, [deck, document, or public URL] as the factual source, and [approved product assets] only where they support the real workflow. Show the workflow in [number] steps, zoom in when an important control is used, remove dead time, and keep the narration [tone]. Preserve the actual order of actions. End with [CTA].
Explainer from a URL or document
Create a [duration] explainer for [audience] who need to understand [topic]. Use [attached file or public URL] as the source of truth. Open with [problem], explain [three key ideas], and close with [next step]. Use a [visual direction] style in [aspect ratio]. Do not add claims that are not supported by the source.
Product update or launch
Create a [duration] update video for current users. Use the attached release notes and approved screenshots. Explain what changed, who benefits, and how to use it in [number] steps. Prioritize [must-show change]. Keep [secondary detail] brief. Use a direct, useful tone and end with [CTA].
Short social video
Create a [15–45]-second [9:16 or 1:1] social video for [audience]. The single takeaway is [message]. Start with [hook], use concise on-screen text that works without sound, and end with [CTA]. Use [source] for facts and [approved assets] for visuals. Keep the pacing energetic without cutting away from information before it can be read.
Training or how-to video
Create a [duration] training video for [role and experience level]. By the end, the viewer should be able to [observable task]. Use [source] and teach the workflow in this order: [steps]. Define unfamiliar terms, show each required action, include [warning or checkpoint], and finish with a short recap.
Presenter or avatar video
Create a [duration] presenter-led video for [audience]. The presenter should sound [tone] and explain [message] in [number] sections. Use [source] for facts, pronounce [terms] as written, and support the presenter with [graphics, captions, or product footage]. End with [CTA]. Use only the voice and likeness I am authorized to publish.
Run the recipe
- Choose the recipe closest to the outcome, not merely the subject.
- Replace every placeholder and delete unused clauses.
- Attach the named sources and set mode, style, duration, aspect ratio, voice, and models only where needed.
- Use PRO for high-stakes facts or a strict storyboard; otherwise create a complete first draft.
- Review the result against the audience, outcome, source, must-haves, and CTA before revising local details.
Expected result
The first script or storyboard should identify the intended audience, follow the requested structure, use the named sources for their assigned roles, and end with the requested call to action. Review those decisions before judging individual visuals or generating an expensive replacement.
If the recipe misses the brief
Keep the current project and compare it with the audience, outcome, source priority, must-show steps, and CTA in your filled recipe. Correct the single missing decision and retry only the smallest affected step or scene once. Use Fix a prompt for a working result that needs better direction. Contact Support when an attached source repeatedly cannot be read, an instruction still does not apply after that targeted retry, or a technical failure blocks the workflow; include the project URL, approximate time, affected source type, and last visible state.
Prompt recipe FAQ
Keep going
Write prompts that produce stronger scripts, visuals, pacing, and revisions.
Add URLs, documents, images, recordings, and other reference material to a video request.
Create a first ngram video from the current Home and agentic workflow.
Diagnose a weak result and improve the prompt, sources, storyboard, or targeted revision.