Read before this
Read these direct prerequisites in order. Each guide lists any earlier context it assumes.
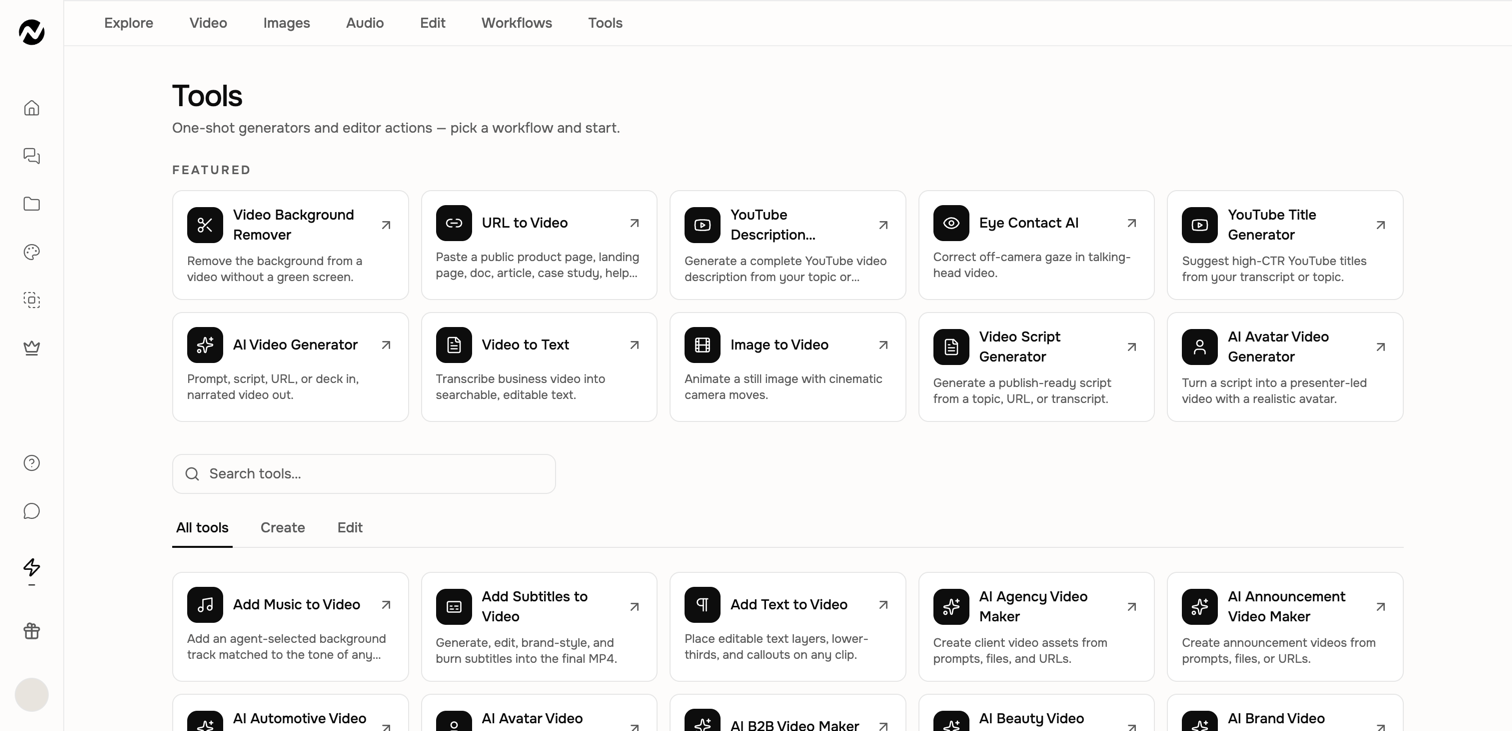
Use this when one existing file needs one clear change
Use a focused Tool when you want to remove a video or image background, clean background noise, correct eye contact, transcribe, translate, dub, convert, compress, or extract media without rebuilding a full video. The Tool processes the uploaded file and creates a separate result, so keep the original.
Choose a Tool by outcome
- Eye contact: adjust a talking-head clip so the speaker appears to look toward the camera.
- Video or image background removal: isolate the visible subject and create a new result with the background removed.
- Background-noise removal: isolate speech from unwanted sound in an audio or video file.
- Video to text: transcribe spoken media into text for reuse or review.
- Translation and dubbing: create another-language speech, with lip sync only when the current Tool offers it.
- Conversion and extraction: change a supported media format or extract the needed audio or frames.
- Logo animation: turn an approved PNG, JPG, or WebP logo into a short reveal from the dedicated creator.
Before you start
Open the Tool card and read its current file, duration, plan, and credit guidance. Use media you own or are permitted to process. For faces and voices, make sure you have the required consent. Keep a copy of the original because a processed result is a new file.
Run and verify a focused Tool
- Open Tools and search for the visible outcome or choose the Edit filter.
- Open the Tool and upload a short representative input first.
- Set the options shown on that Tool's input screen and review any credit estimate.
- Start processing and keep the resulting project URL when one is created.
- Play or inspect the complete output, not only the first frame or first sentence.
- Download the approved result and look under Projects → Tool results when the Tool saves a run.
Inline Tools in a generated scene
On desktop, an owned finished video can expose focused Tools after you turn on Edit and select a video scene. Translation and dubbing require a project with one base video. A completed result replaces the selected scene's base video while preserving overlays; it does not edit every scene. Download the produced source file when you need a backup, and use the visible one-step revert before making another replacement if the result is worse.
Expected result
The result page should let you play or inspect the complete processed file and download it. When the Tool saves a run, it should also appear under Projects → Tool results. A background-removal result should retain the intended foreground subject while removing the surrounding background.
If processing fails or the output is unusable
Keep the original and any usable result. Confirm the file meets the limits shown on the live Tool, shorten a representative test when possible, and retry once. For background removal, use a clear subject with visible separation from the background. If the same eligible input fails again, the result is missing after completion, or the foreground is repeatedly removed with the background, contact Support with the Tool name, project URL, approximate time, input type and duration, and visible error. Do not attach private media to the first support message unless requested through an approved channel.
Focused media Tools FAQ
Keep going
Prepare, process, review, and troubleshoot an MP4, MOV, or WebM with the Eye Contact AI Tool.
Use Video Translator, lip sync, Voice Dubber, Video to Text, and Audio to Text without confusing their outputs.
Edit scene content, layers, media, audio, interactivity, and timing inside a conversation.
Troubleshoot slow, stopped, failed, or disconnected video generation without relying on fixed time promises.