Read before this
Read these direct prerequisites in order. Each guide lists any earlier context it assumes.
Use this when videos look inconsistent or off-brand
Use Brand Kit when different videos use the wrong logo, colors, fonts, visual treatment, tone, product wording, call to action, or organization-supplied disclaimer wording—or when your team keeps repeating the same brand instructions in every prompt. A kit gives ngram one approved identity source to apply to new generations.
What Brand Kit does not verify
Brand Kit applies the rules and assets you provide; it does not certify that a video is legally or regulatorily compliant. Add approved terminology and blocked phrases, treating any organization-supplied disclaimer wording as an approved phrase that must appear, then have a qualified reviewer approve regulated or high-stakes content before publishing.
Before you start
- Premium: one Brand Kit.
- Ultimate: unlimited Brand Kits under the current configuration.
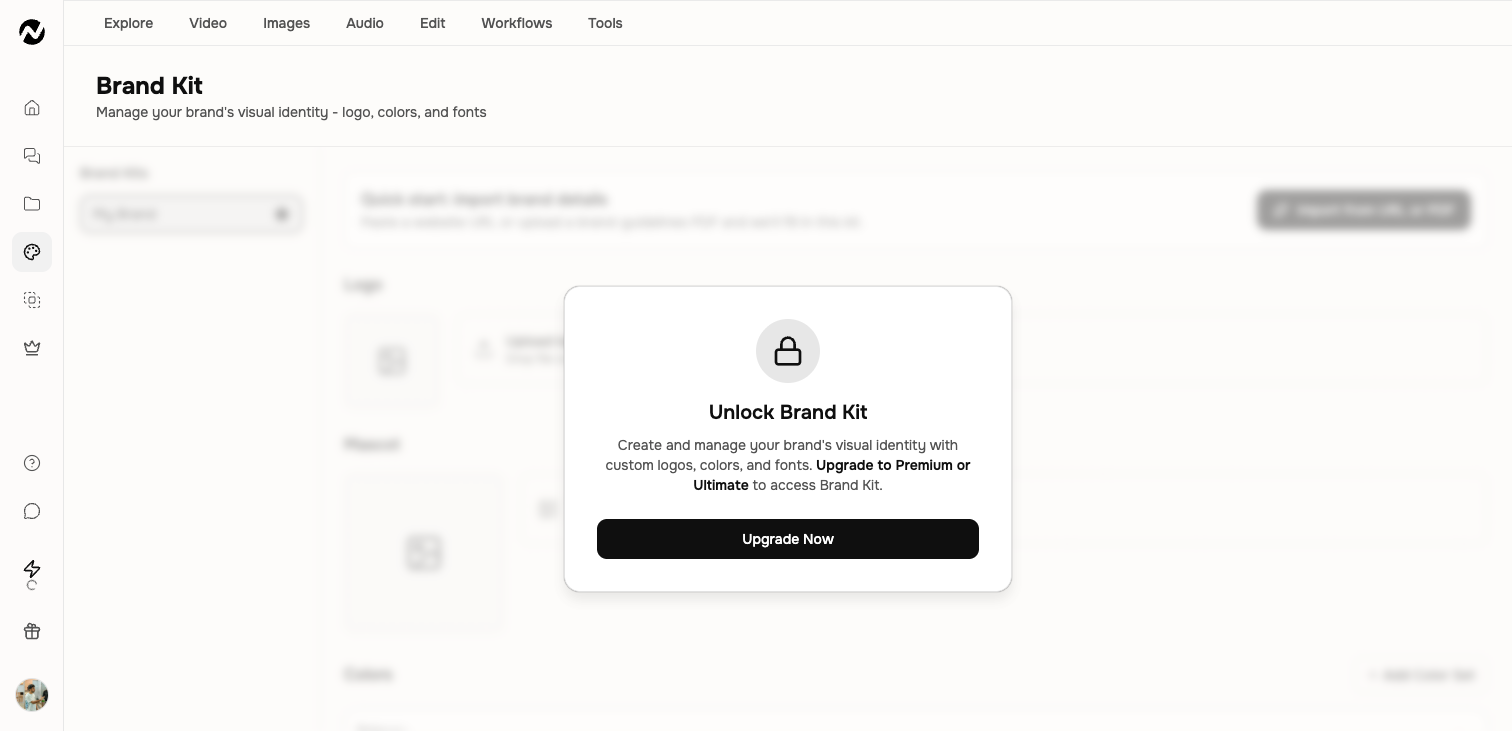
- Free and Basic: Brand Kit creation is not included.
- A team kit is available from the corresponding active team context.
Create or import a kit
Build a kit manually or import brand information from a public website URL or a brand-guidelines PDF. Website and PDF extraction is a starting point: review every imported color, font, logo, and rule before using it in customer-facing work.
What a kit can contain
In Colors, add or choose a color set, then assign its swatches to Primary, Secondary, Accent, Background, Text, and Muted text. Open a role to choose a swatch; use Custom name when your team has another named color job. A role left unset is selected for readable contrast when the video renders. Review colors imported from a website or PDF before saving the kit.
- Logo, mascot, and example assets
- Up to three color sets with up to five colors in each set
- Typography choices plus motion, image, and screenshot style
- Voice, tone, approved phrases, blocked phrases, and calls to action; approved phrases can include organization-supplied disclaimer wording
- Optional intro and outro slides, plus a default kit when more than one is available
Asset requirements
Logo and mascot uploads support common web image formats. The current Studio limits are 5 MB for these assets and 15 MB for a brand-guidelines PDF; follow the live upload message if those limits change.
Brand Kit does not currently provide the old corner-watermark, background-tile, margin, or opacity controls described by legacy help content.
Apply a kit to a video
- Choose the Brand Kit in the creation settings when the workflow offers it.
- Review the selected logo, colors, typography, and visual rules before generation.
- Turn the intro or outro on only when you want that bookend in this video; storing it in a kit does not require every video to use it.
- Review the first complete preview and correct any imported brand value that does not match the approved guidelines.
Expected result
New videos created with the kit should consistently use its selected identity and content rules. Review the complete preview—including captions, narration, intro, outro, and call to action—because a selected kit guides generation but does not replace final approval.
If the video is still inconsistent
Preserve the current project, confirm that the intended kit was selected, and correct the source value inside Brand Kit. Retry only the affected scene or smallest relevant generation once. Contact Support if an eligible kit is missing, the saved values do not persist, or the same approved value is ignored again. Include the project URL, kit name, approximate time, affected scene, and the visible mismatch; do not send confidential guidelines in the first message.
Brand Kit FAQ
Keep going
Use Auto, style presets, templates, and Brand Kit without confusing their roles.
Create, preview, use, and remove custom voice models with current plan limits.
Create, use, and remove custom presenter faces with current plan limits.
Understand team access, roles, invitations, shared work, credits, and ownership.