Read before this
Read these direct prerequisites in order. Each guide lists any earlier context it assumes.
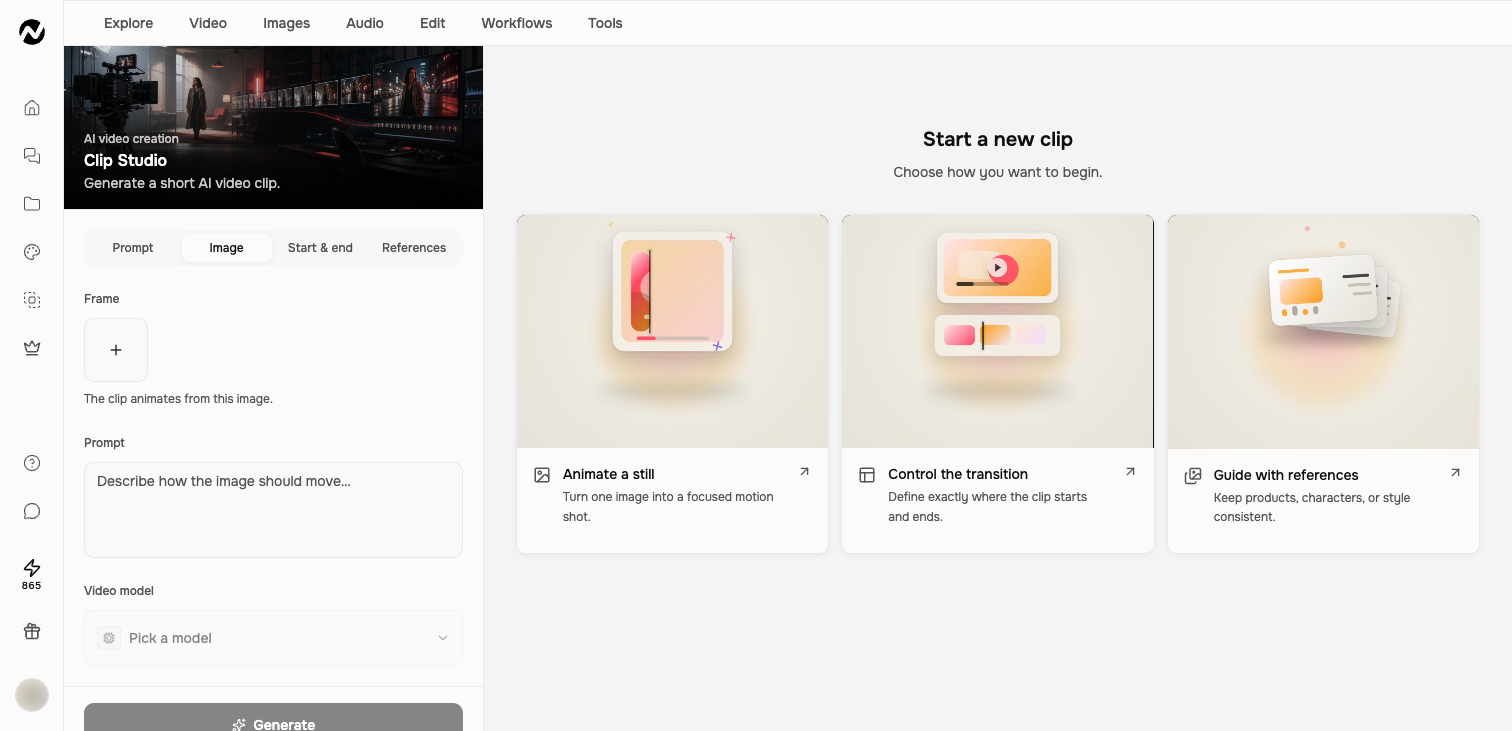
Before you start
Sign in and prepare an input you own or are permitted to process. Tool availability, supported files, duration limits, plan access, and credit cost are shown on the live input screen and can differ from older screenshots.
Choose an input mode
- Prompt: generate a clip from text only.
- Image: animate one still frame.
- Start & end: define the boundary frames of a transition.
- References: guide product, character, or visual consistency with several images.
Choose model and output settings
The model selector shows compatible models and their current credits-per-second cost. Duration and aspect-ratio choices can change with the selected model and input mode. Review the estimated total before generating.
Prompt motion, not a whole story
Clip Studio is designed for one short shot. Describe the subject, camera movement, action, environment, and what should stay stable. For a multi-scene narrated story, use the main agentic video workflow instead.
Review the result
- Check the first and last moments for unintended changes.
- Look for product, logo, face, and text consistency.
- Confirm the generated duration and charged credits in the result or Usage history.
- Download the approved clip or use it as media in another project.
A safe first pass
- Open the dedicated Tool or app and read its current input requirements.
- Use a short safe sample, choose only the necessary settings, and review the estimate.
- Run the job and inspect the complete result for quality, timing, text, faces, and audio as applicable.
- Download or save the approved output and verify where the run appears in Projects.
Keep going
Use Image Lab prompts, templates, references, styles, platform sizes, models, history, and downloads.
Understand text, image, and video model roles without relying on a stale model catalog.
Understand credit estimates, reservations, charges, plan grants, top-ups, and auto top-up.
Search and use the current Tools library and understand where Tool results are saved.