Read before this
Read these direct prerequisites in order. Each guide lists any earlier context it assumes.
Before you start
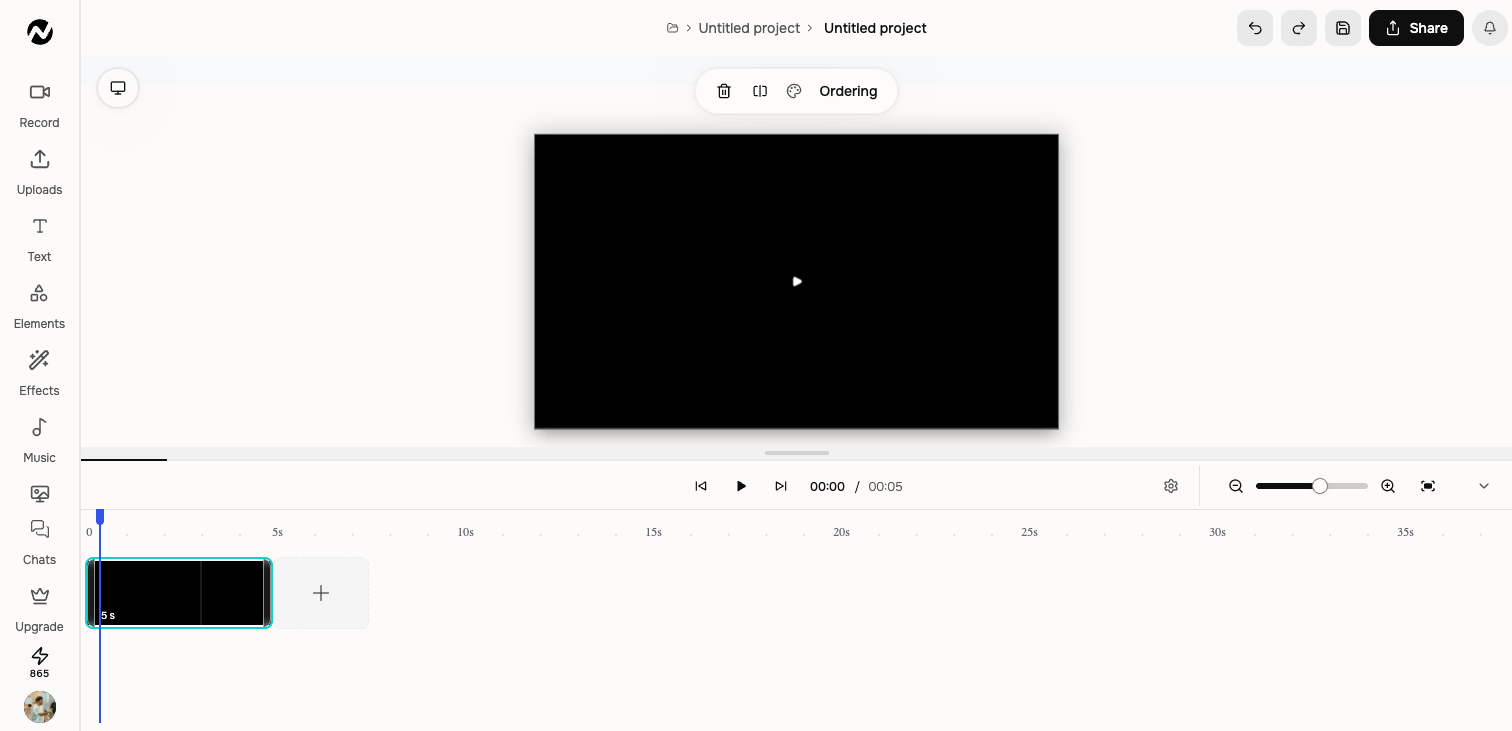
The full editor is designed for desktop use. You can open a finished owned project, or start a blank project from /app/editor or /app/editor/new; the blank canvas lets you add text or upload image/video media before asking the agent for help. Save or fork valuable work before a broad rewrite or a destructive timeline change.
Open an editor project
- Open a finished agentic conversation, or navigate to /app/editor to start with a blank canvas.
- For a finished conversation, open Edit video. A blank project opens directly in the editor.
- Choose Open in editor when prompted.
- In a blank project, select Text or Uploads to create the first scene; otherwise confirm creation of the separate editor copy.
The copy is independent
The editor copy does not automatically receive later changes from the agentic conversation. Decide which version is authoritative before you continue editing or publishing. Name the copy clearly so it is easy to identify in Projects.
Main editor areas
- Canvas and selection controls
- Record and Uploads
- Text, Elements, Effects, Music, and Backgrounds
- Page controls and layer ordering
- Timeline playback, selection, resizing, and zoom
- Save, Share, and export controls
Choose the full editor when
Use it for detailed layout work, additional media layers, precise timing, manual design, or a standalone deliverable that no longer needs to follow the agentic conversation. Stay inline for small direct changes to the conversation's current video.
Keep going
Edit scene content, layers, media, audio, interactivity, and timing inside a conversation.
Use the current multi-track video timelines instead of the obsolete fixed three-row model.
Download an MP4 from an agentic video or editor project at the current plan resolution.