Read before this
Read these direct prerequisites in order. Each guide lists any earlier context it assumes.
Plan limits
- Premium includes one custom voice.
- Ultimate includes unlimited custom voices under the current configuration.
- Free and Basic do not include custom voice creation.
Create a voice
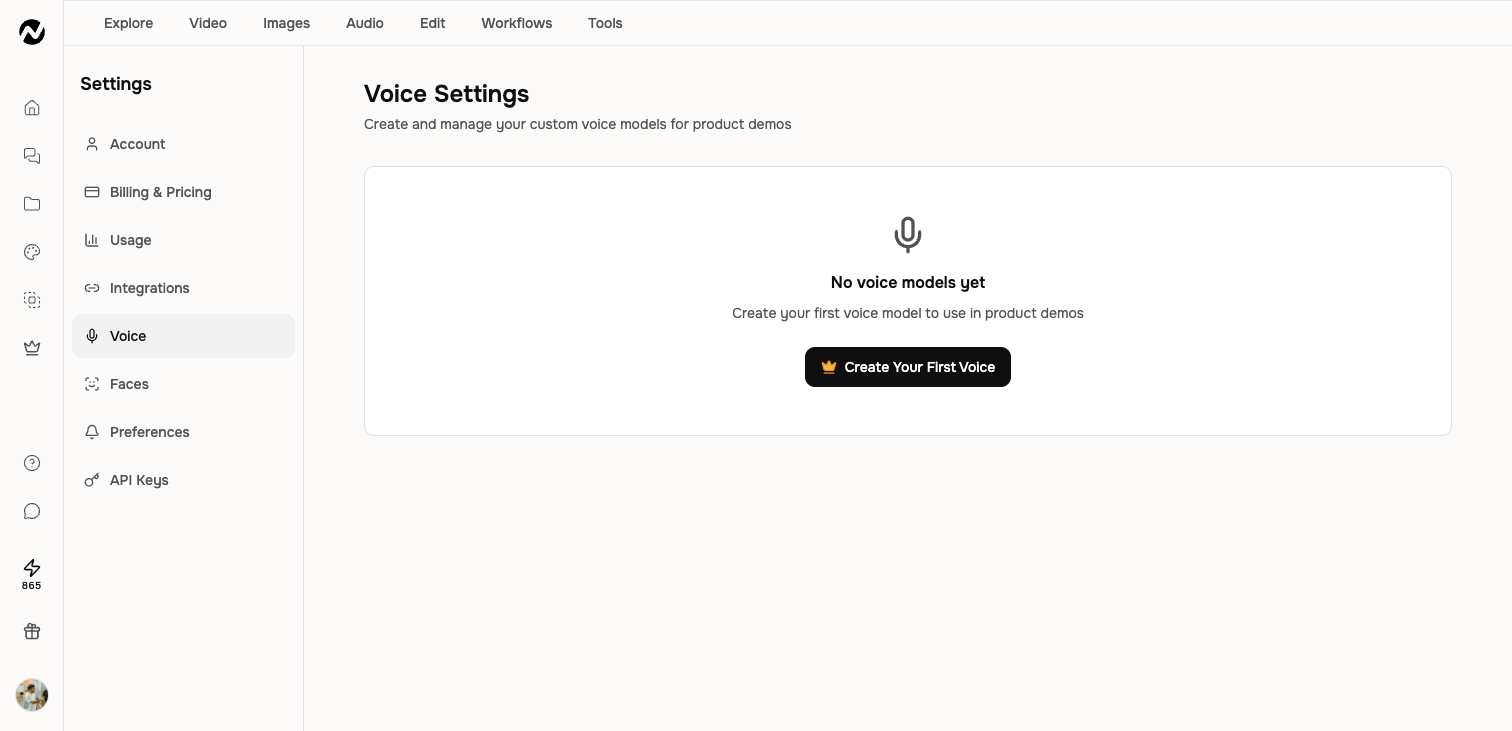
- Open Account & Settings, then Voice.
- Choose Create Your First Voice or the add-voice action.
- Record a clean sample or upload supported audio or video when offered.
- Confirm that you have permission to create and use the voice.
- Name and preview the model before using it in a video.
Record a useful sample
- Use one speaker in a quiet room.
- Avoid music, echo, clipping, and long silent gaps.
- Speak naturally with the pace and tone you want the model to learn.
- Do not upload another person's voice without explicit authorization.
Manage the model
Select the custom voice from the normal Voice picker when the workflow supports it. Preview it with representative narration, and remove obsolete models from Voice Settings so the right option is easy to find.
Before you finish
Before leaving, confirm ownership, naming, team context, and any plan or role limitation. Preserve a separate copy before broad revisions and transfer ownership before an owner leaves or deletes a shared workspace.
Keep going
Choose a voice and avatar
Select narration, language, presenter, and custom identity options for a video.
Create and manage a custom face
Create, use, and remove custom presenter faces with current plan limits.
Understand plans and pricing
Review current Free, Basic, Premium, Ultimate, and Enterprise plan behavior.