Read before this
No earlier guide is required. You can start with this article.
Use this guide when
Use this guide to find the correct Settings area for profile preferences, billing, usage, integrations, custom identity assets, or account deletion. For subscriptions, invoices, and receipts, continue to the dedicated billing guide rather than changing unrelated profile settings.
Account information
Account shows the profile photo, display name, email, authentication provider, confirmation state, account creation date, and last sign-in. Some identity fields are controlled by the sign-in provider rather than an inline ngram editor.
Preferences
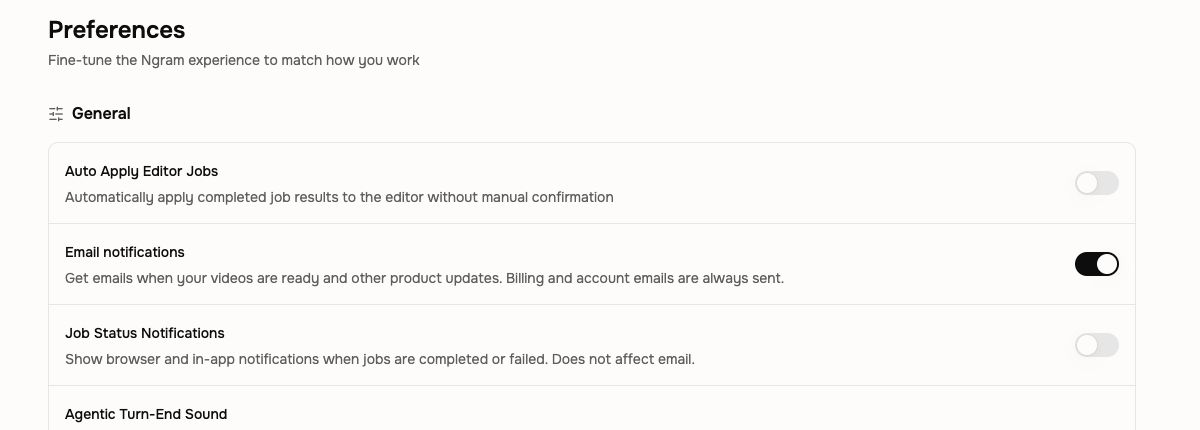
- Auto Apply Editor Jobs: apply completed background editing jobs automatically.
- Email notifications: send video-ready messages and product updates. You can turn these off; billing and account emails are always sent.
- Job Status Notifications: show browser and in-app messages when jobs complete or fail. This setting does not affect email.
- Preferences also contains the current turn-end sound and other account-level behavior controls.
- Eligible paid users can manage auto top-up from the billing-related preference shown by Studio.
Other settings areas
Use Billing & Pricing for subscriptions, invoices, and receipts; Usage for credit events; Integrations for connected services; Voice and Faces for custom identity assets; and team settings for the active team. Every signed-in user can open API Keys to create, rotate, and revoke credentials for the public API and supported external automations.
Delete the account
Account deletion hides the account immediately and schedules permanent erasure after 30 days under the current flow. Review ownership of teams, published projects, shared assets, and billing before deleting. Follow the confirmation dialog carefully because this affects stored work and access.
A safe first pass
- Open the relevant Settings, Billing, Usage, or Earn credits page.
- Confirm the active account or team and read the current plan or program terms.
- Make one intended change or locate the exact activity record.
- Verify the resulting status, balance, renewal, claim, or preference before closing the page.
If a settings change does not appear
Refresh the same Settings page once and confirm the active account or team. Do not repeat a purchase or destructive account action. Contact Support when the confirmed state still does not match, including the page name, approximate time, visible status, and browser without sending credentials or payment details.
Account and settings FAQ
Keep going
Review current Free, Basic, Premium, Ultimate, and Enterprise plan behavior.
Use the current Usage page to understand credit activity and investigate unexpected charges.
Create, preview, use, and remove custom voice models with current plan limits.
Create, use, and remove custom presenter faces with current plan limits.
Cancel or change a plan, manage a paused subscription, and download billing records.
Prepare a billing or credit-review request without assuming a refund is guaranteed.