Read before this
Read these direct prerequisites in order. Each guide lists any earlier context it assumes.
Plan limits
- Premium includes one custom face/avatar slot.
- Ultimate includes unlimited custom faces/avatars under the current configuration.
- Free and Basic do not include custom face creation.
Create a face
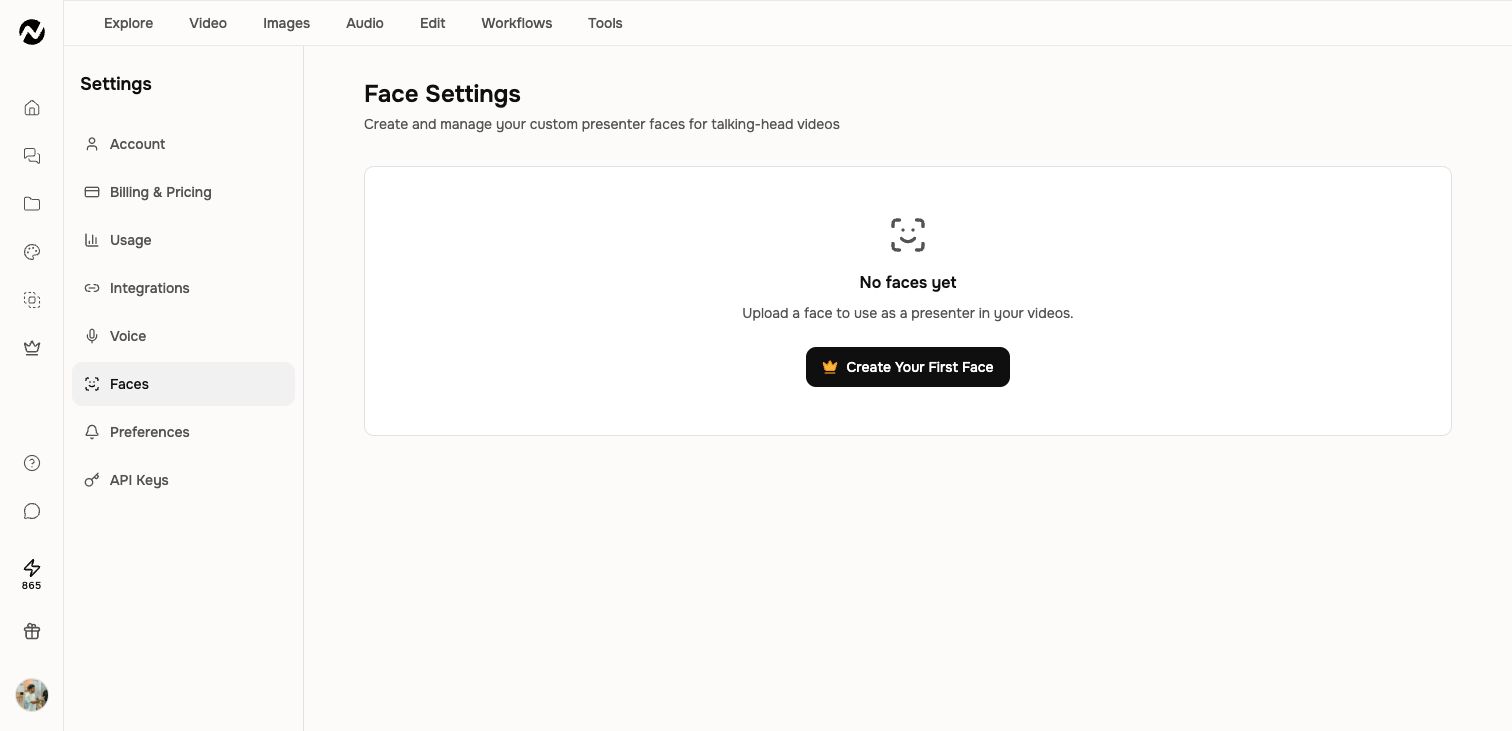
- Open Account & Settings, then Faces.
- Choose Create Your First Face or the add-face action.
- Upload a clear PNG, JPG, or WebP image that follows the current on-screen guidance.
- Confirm you have permission to animate and publish the person's likeness.
- Name the face and test it in a compatible avatar video.
Choose a strong source image
- Use a clear, front-facing upper-body image.
- Keep the face unobstructed and evenly lit.
- Avoid motion blur, extreme angles, and busy backgrounds.
- Use the exact person and appearance you are authorized to publish.
Use and remove faces
Select the custom face from compatible avatar controls. If the result is not consistent, improve the source photo rather than repeatedly regenerating from a weak image. Remove a face from Settings when permission ends or the asset is no longer approved.
Before you finish
Before leaving, confirm ownership, naming, team context, and any plan or role limitation. Preserve a separate copy before broad revisions and transfer ownership before an owner leaves or deletes a shared workspace.
Keep going
Select narration, language, presenter, and custom identity options for a video.
Create, preview, use, and remove custom voice models with current plan limits.
Choose between motion graphics, avatar, screencast, and other video types visible in Studio.