Read before this
Read these direct prerequisites in order. Each guide lists any earlier context it assumes.
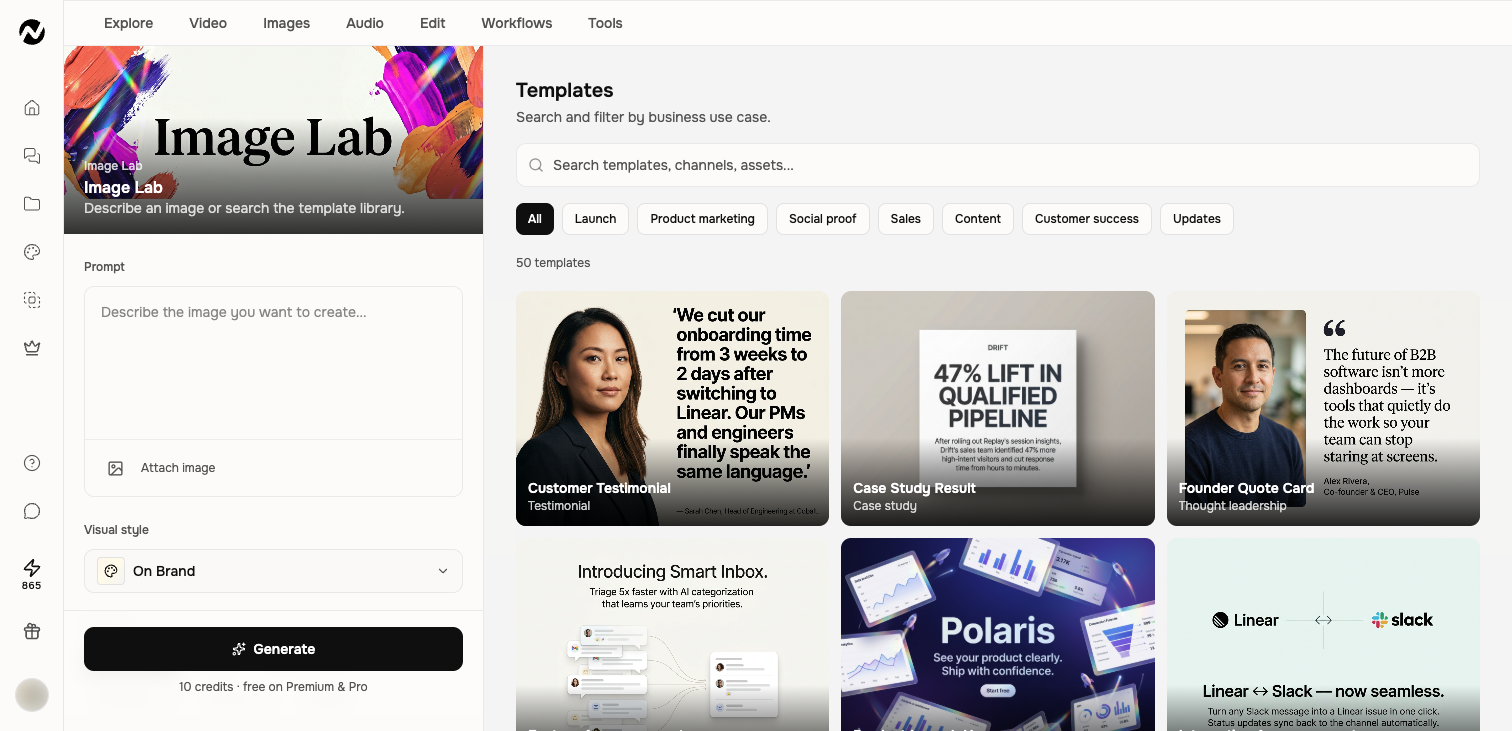
Start from a prompt or template
Describe the image you need or choose a template for a business use case such as a launch, testimonial, comparison, sales asset, report, onboarding card, or help-center cover. A template supplies structure; your prompt supplies the actual message and visual direction.
Set generation controls
- Attach reference images when products, people, or visual identity need consistency.
- Choose On Brand or another visible visual-style option.
- Pick a platform preset such as LinkedIn, X, YouTube, Instagram, or TikTok, or use Custom.
- Choose from the image models available to your account and review the displayed credit cost.
Write an image prompt
Describe the subject, composition, environment, brand constraints, required text, and destination. Keep exact copy short and proofread it in the result. Use an uploaded product or screenshot as the source when visual accuracy matters.
Review and reuse
Open the generated result, compare it with the prompt and references, and download the approved version. Use history to return to prior generations. Model names and costs change, so follow the live selector rather than an older screenshot or fixed table.
A safe first pass
- Open the dedicated Tool or app and read its current input requirements.
- Use a short safe sample, choose only the necessary settings, and review the estimate.
- Run the job and inspect the complete result for quality, timing, text, faces, and audio as applicable.
- Download or save the approved output and verify where the run appears in Projects.
If the result is not available
If a Tool rejects or fails on an input, recheck the live file and duration limits, try a short representative file once, and inspect Projects → Tool results. Contact Support with the Tool name, project URL, time, and visible error after a repeatable failure.
Keep going
Search and use the current Tools library and understand where Tool results are saved.
Understand text, image, and video model roles without relying on a stale model catalog.
Create, import, and manage personal or team Brand Kits and current plan limits.
Use Clip Studio input modes, models, duration, aspect ratio, cost estimates, history, and downloads.