
Your instructor has recorded the lesson. The product team has approved the pronunciation. Recording it again would mean another review. You can create video from audio by keeping that MP3 as the voiceover and building supporting visuals around the spoken explanation.
In ngram, attach the recording and state its role in the brief. A second MP3 can supply the background music. The important choice is which sound belongs in the final video: the performance you already have, or a new voice generated from text.
Create video from audio or generate a new narrator?
Use a recorded voiceover when the delivery itself matters: an instructor’s explanation, a founder’s message, a client-approved performance or a correctly pronounced technical term. A transcript preserves the words, but asking a generated voice to read it produces a different performance.
Use a written script when the words are approved but nobody has recorded them yet. ngram can generate narration from that script. A custom voice is another choice, but it is not the same as preserving a particular recording, including its pauses and emphasis.
The AI voiceover feature covers generated narration. The workflow below starts with a recording instead.
Prepare the recording before you upload it
Export the approved take as MP3. Studio’s audio-source workflow accepts MP3, with a 25 MB limit for device uploads. A WAV or M4A file that plays on your computer is not automatically accepted by this path; export an MP3 copy from the recording tool first.
Listen to that exact file before attaching it. Check the opening word, the last sentence, long silences and any name or number that must be right. If the source contains a mistake, correct the source recording before asking ngram to keep it unchanged.
Keep narration and music in separate files when you want to adjust them independently. If music is already mixed into the narration file, preserving the recording also preserves that mix. Adding another music track can make the result harder to hear.
- Name the narration clearly, for example approved-lesson-voiceover.mp3.
- Name a separate music file by its role, for example academy-background-music.mp3.
- Use recordings and music you have permission to distribute with the finished video.
- Bring product screenshots, a screen recording or approved diagrams when the explanation depends on a specific real interface.
Create video from audio in ngram
1. Attach the MP3 and wait for it to be ready
From Home, use Prompt to video. Choose Add files, then Upload files. Upload the MP3 from your device or select it from your library, and choose Confirm Selection. Wait until the source has finished preparing before you start the video.
2. Give each file a job
Write the brief around the deliverable: who will watch, what they need to understand and which visuals should support the explanation. Explicitly say that the narration file is the voiceover. If you attach music, identify that file separately.
For example: “Create a landscape lesson for new account managers. Use approved-lesson-voiceover.mp3 as the voiceover exactly as recorded. Use academy-background-music.mp3 as quiet background music. Build clear diagrams around the explanation, preserve the approved wording, and ask before adding facts that are not in the source.”
Replace the filenames with the files you attached. If the narration already includes music, say so and ask for no additional track.
3. Review the plan before production
Choose the settings for the video and start creation. When ngram offers a plan, read the narration and scene descriptions before approving it. Confirm that it intends to use the supplied recording rather than generate a new voice.
Check the picture as carefully as the sound. A diagram may need an approved label; a product walkthrough may need your actual screenshot. Request changes when a scene adds a claim or shows a control that the spoken explanation does not support.
4. Play the whole result
Wait for the playable preview. Start at the beginning and listen through the ending. Compare the words, pauses and delivery with your source. Watch the transitions between scenes, particularly where an important instruction begins or ends.
For exact controls, upload limits and recovery, use the music and voiceover guide.
Hear the recorded voiceover in a finished lesson
Check the mix where the words matter
The opening title is a poor place to judge whether music is too loud. Find the quietest spoken phrase or the most important number and play that passage on an ordinary laptop or phone speaker. A track should support the explanation without hiding consonants or the end of a sentence.
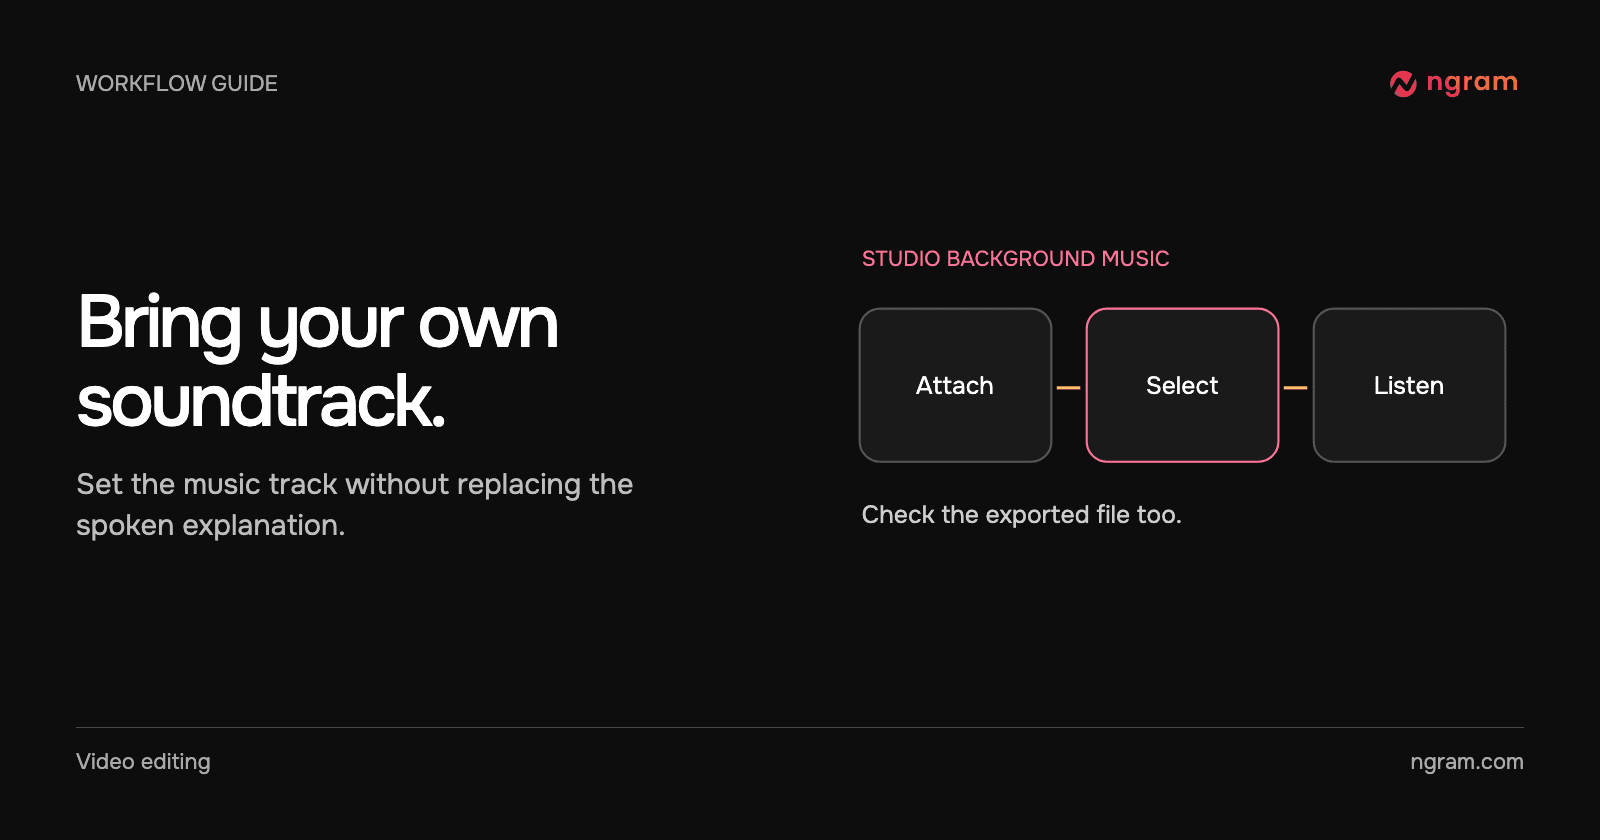
If you only need to replace background music on a compatible finished video, open Edit, choose Music, then Choose music or Change music and Upload MP3. Confirm the file, wait for preparation, play the result and choose Save. That creates a new version; replacing the editor’s music track alone does not generate new music or use generation credits.
The editor loops a selected background track for the video’s length at the current music volume. Separate music controls require compatible separate tracks. If the sound is embedded in one mixed composition, ask for the change in chat instead of expecting a music-only control to separate it.
The uploaded-background-music tutorial walks through that editor task. It is useful when the video and narration are already right.
Keep captions and versions tied to the recording
Turn captions on when the audience needs them; ordinary captions start off. Check the actual displayed words and timing against the recording, especially names, abbreviations and numbers. Seeing an MP3 in the brief does not establish that the captions are correct.
Changing the written narration does not change the words inside an existing audio file. For revised wording, provide a revised recording or choose generated narration deliberately. For another spoken language, review a different narration track as a separate version.
Choose one aspect ratio for the intended destination, then review another ratio as its own edit. On a paid plan, download the MP4 and play the downloaded file before delivery. Generation uses credits; check the estimate before approving production.
For a recurring employee lesson, the training video workflow gives you a place to plan the audience, approved source and next action together.
Questions about recorded audio
Can I create video from audio without replacing my voice?
Attach your MP3 and say it is the voiceover exactly as recorded. Do not choose generated narration as a substitute for that performance. Play the finished video to verify the original words and delivery.
Can I use WAV, M4A or another audio format?
This Studio source workflow accepts MP3. Export an MP3 copy first if your approved recording is in another format. Keep the uploaded file within the 25 MB device-upload limit.
Can I provide voiceover and music together?
Yes. Attach separate MP3s and name each role in the brief. If the voiceover file already contains music, explain that so another background track is not added unintentionally.
Can I replace one spoken sentence by editing its transcript?
A transcript edit does not rewrite the sound in your original recording. Supply a corrected take or deliberately generate new narration for the changed words, then review the transition and the affected visuals.
Does this work through every integration?
The steps here describe signed-in Studio. API, MCP, bots and automation connectors have their own documented inputs. A connector’s ability to start a text-to-video job does not establish that it can attach your MP3 as narration.
Where do I start with my approved recording?
Open Voiceover to Video with the approved MP3. Review the brief in Studio, specify the recording’s role and keep the first video focused on one explanation.