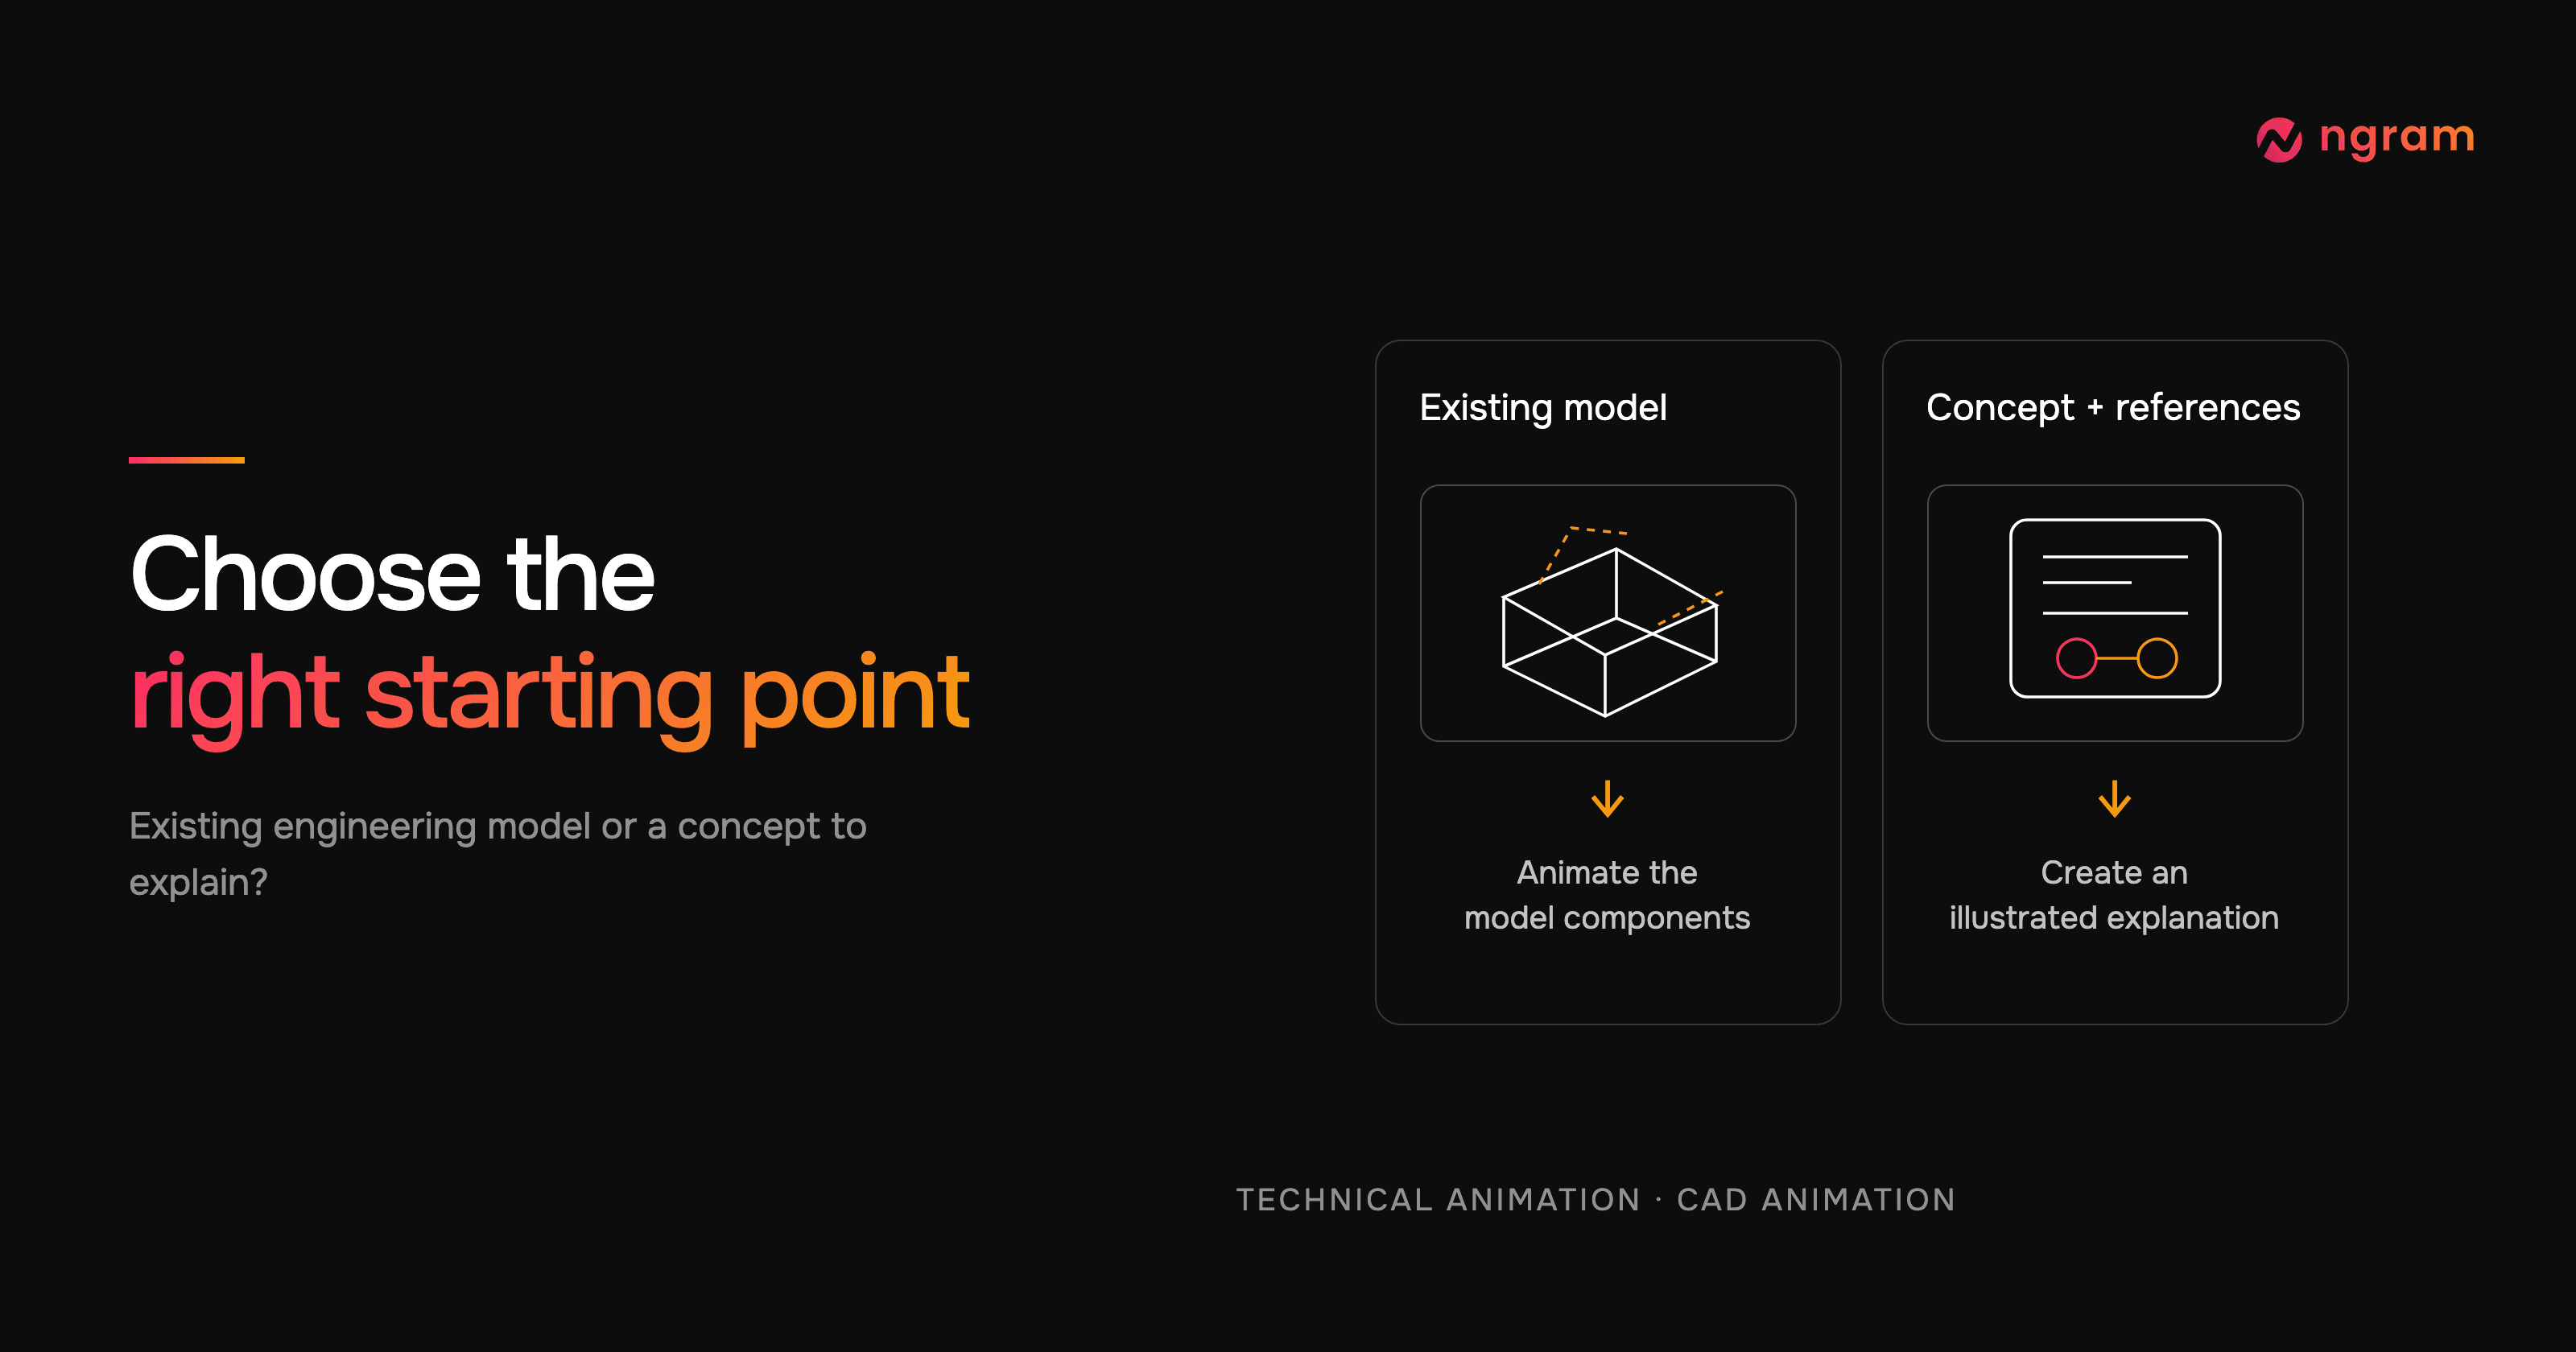

A product team needs to explain a hidden connection. A teacher needs to show how water turns a generator. Both are technical animation jobs, but neither request says whether an engineering model must survive into the finished video. That is the first decision to make when comparing technical animation and CAD animation.
These categories overlap. A CAD-based animation can be a technical explanation, and a technical animation can use an engineering model. The useful comparison is between animating existing model components and creating an illustrative explanation from a brief and references.
Start with the asset the finished view must preserve
If your team already has an approved assembly model and the viewer must see that model’s components, start in a model-based workflow. Keep the engineering owner involved in selecting the revision, components and movement to show. The animation can communicate an assembly without establishing that the movement is a validated simulation.
If the viewer needs a conceptual relationship, an illustration may be the more direct brief. Name the components and what connects them, provide references for the facts that matter, and choose the detail level for the audience. The illustration is authored to explain the concept; it does not carry an assurance that it preserves your engineering geometry.
| Decision | Existing-model animation | Brief-to-illustration workflow |
|---|---|---|
| Starting material | An existing design or assembly model | The concept, audience and optional references |
| Visual identity | The supplied model components | An independently created explanatory figure |
| What to review | Model revision, components and animated motion | Source facts, part relationships, labels and motion |
| Typical reason to choose it | The actual model must appear in the deliverable | The viewer needs a simplified mechanism or sequence |
What a CAD animation workflow gives you
Autodesk Fusion’s animation tutorial starts with an existing utility-knife design and switches to the Animation workspace. It covers exploded views, trail lines and annotations, then sharing the animation as a video or through the web client. Those tools work on the design’s components. Read Autodesk’s animation tutorial.
That starting point matters. An engineering team can select the approved assembly and direct which components separate or move. The production work still includes choosing the view, timing the action, labeling important parts and checking that the animation tells the right story. A model on its own does not decide which joint the customer needs to understand.
JigSpace’s assembly tutorial likewise starts by loading a 3D model, then applying materials, adding labels and arranging instruction steps. It is a useful example of a model-first explanation workflow. See JigSpace’s assembly tutorial.
What a generated technical illustration gives you
In ngram, Technical Animation uses the Machine anatomy style with Opus 5.5. Describe the concept, learner and physical relationship in the brief, adding references when useful. The result can explain components, movement and connections through labeled technical figures. Explore the Technical Animation feature.
The hydropower frame below illustrates the distinction. The lesson’s input describes a conventional reservoir plant, a water path, a turbine, a shaft and a generator, using public teaching references. Its video follows that relationship, returns to a recap and asks which component converts the turning motion into electricity.
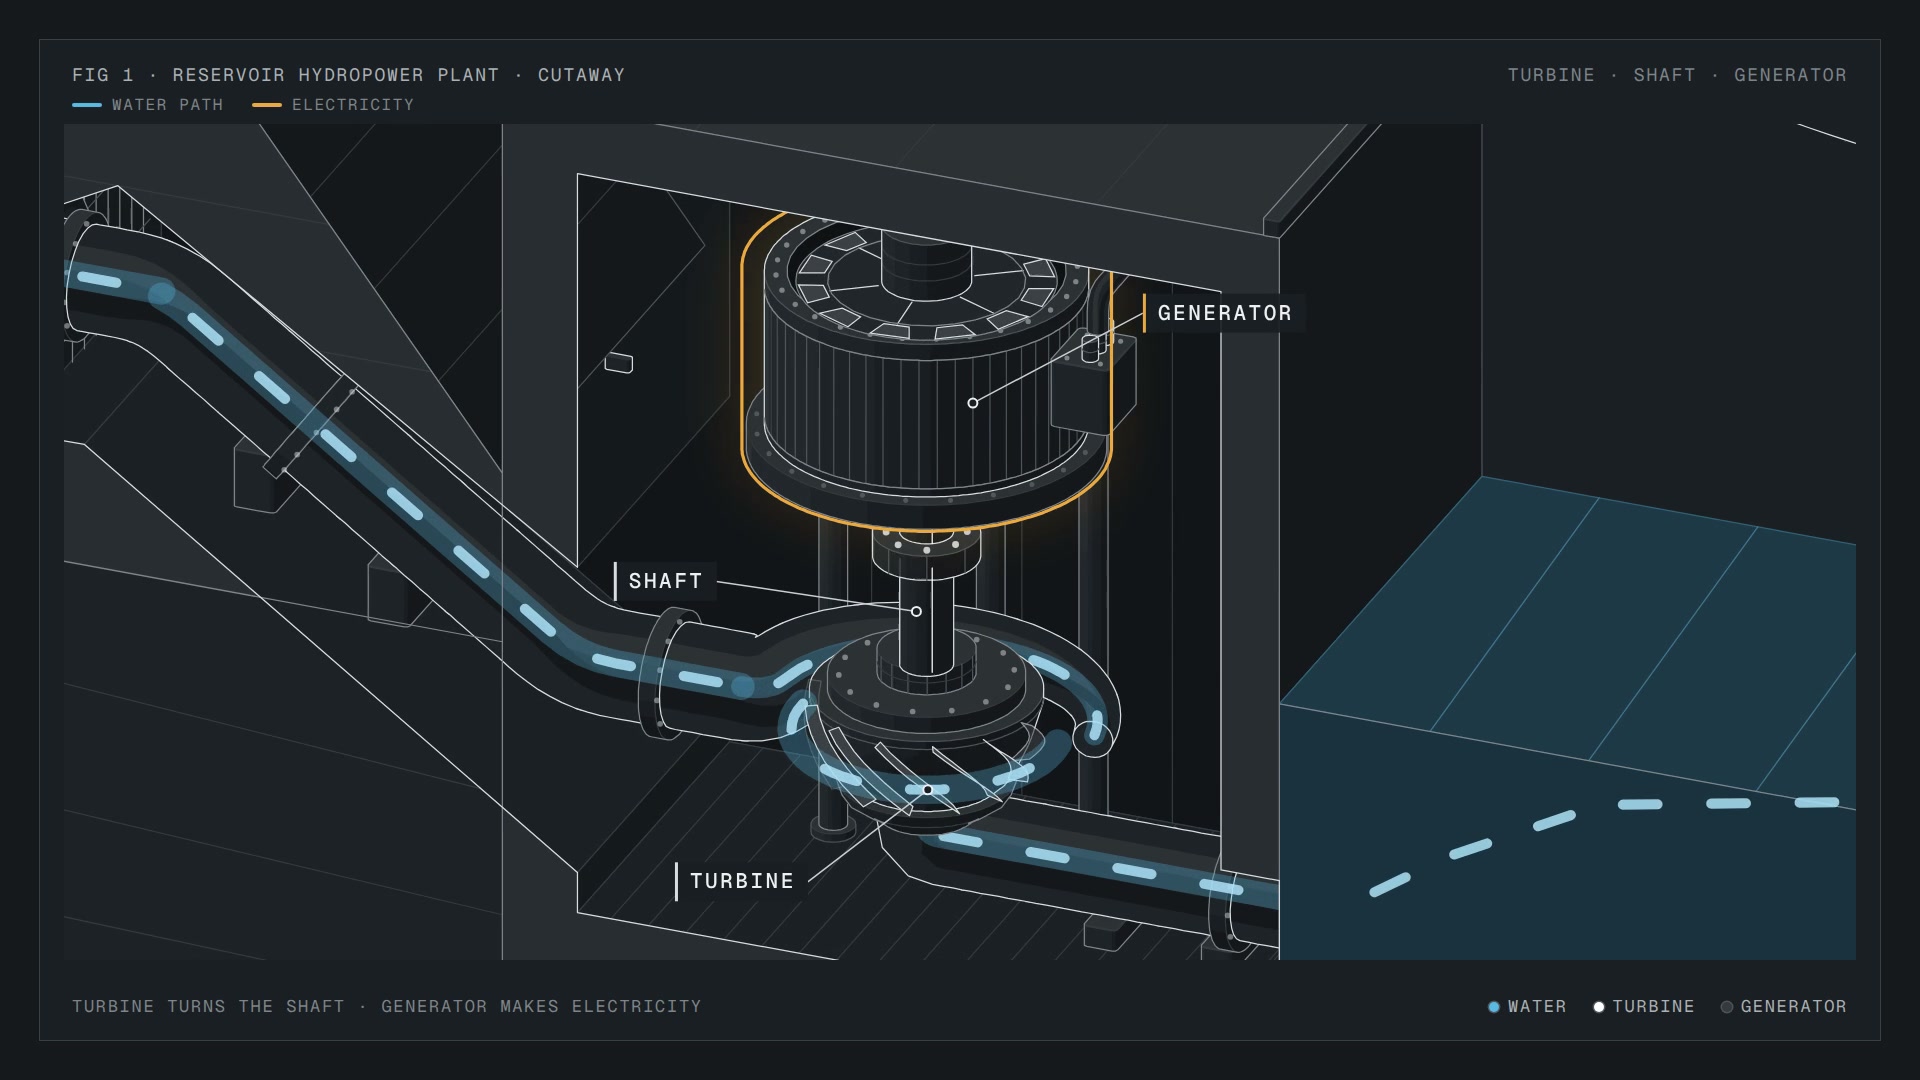
Watch the full hydropower lesson and adapt its brief.
The illustration makes the water path and electrical path easy to distinguish. It supplies a conceptual teaching view, rather than a model of a particular generating station with engineering dimensions or measured output. Its final question is part of the video; it does not create a clickable assessment.
A worked assembly example without an imported CAD model
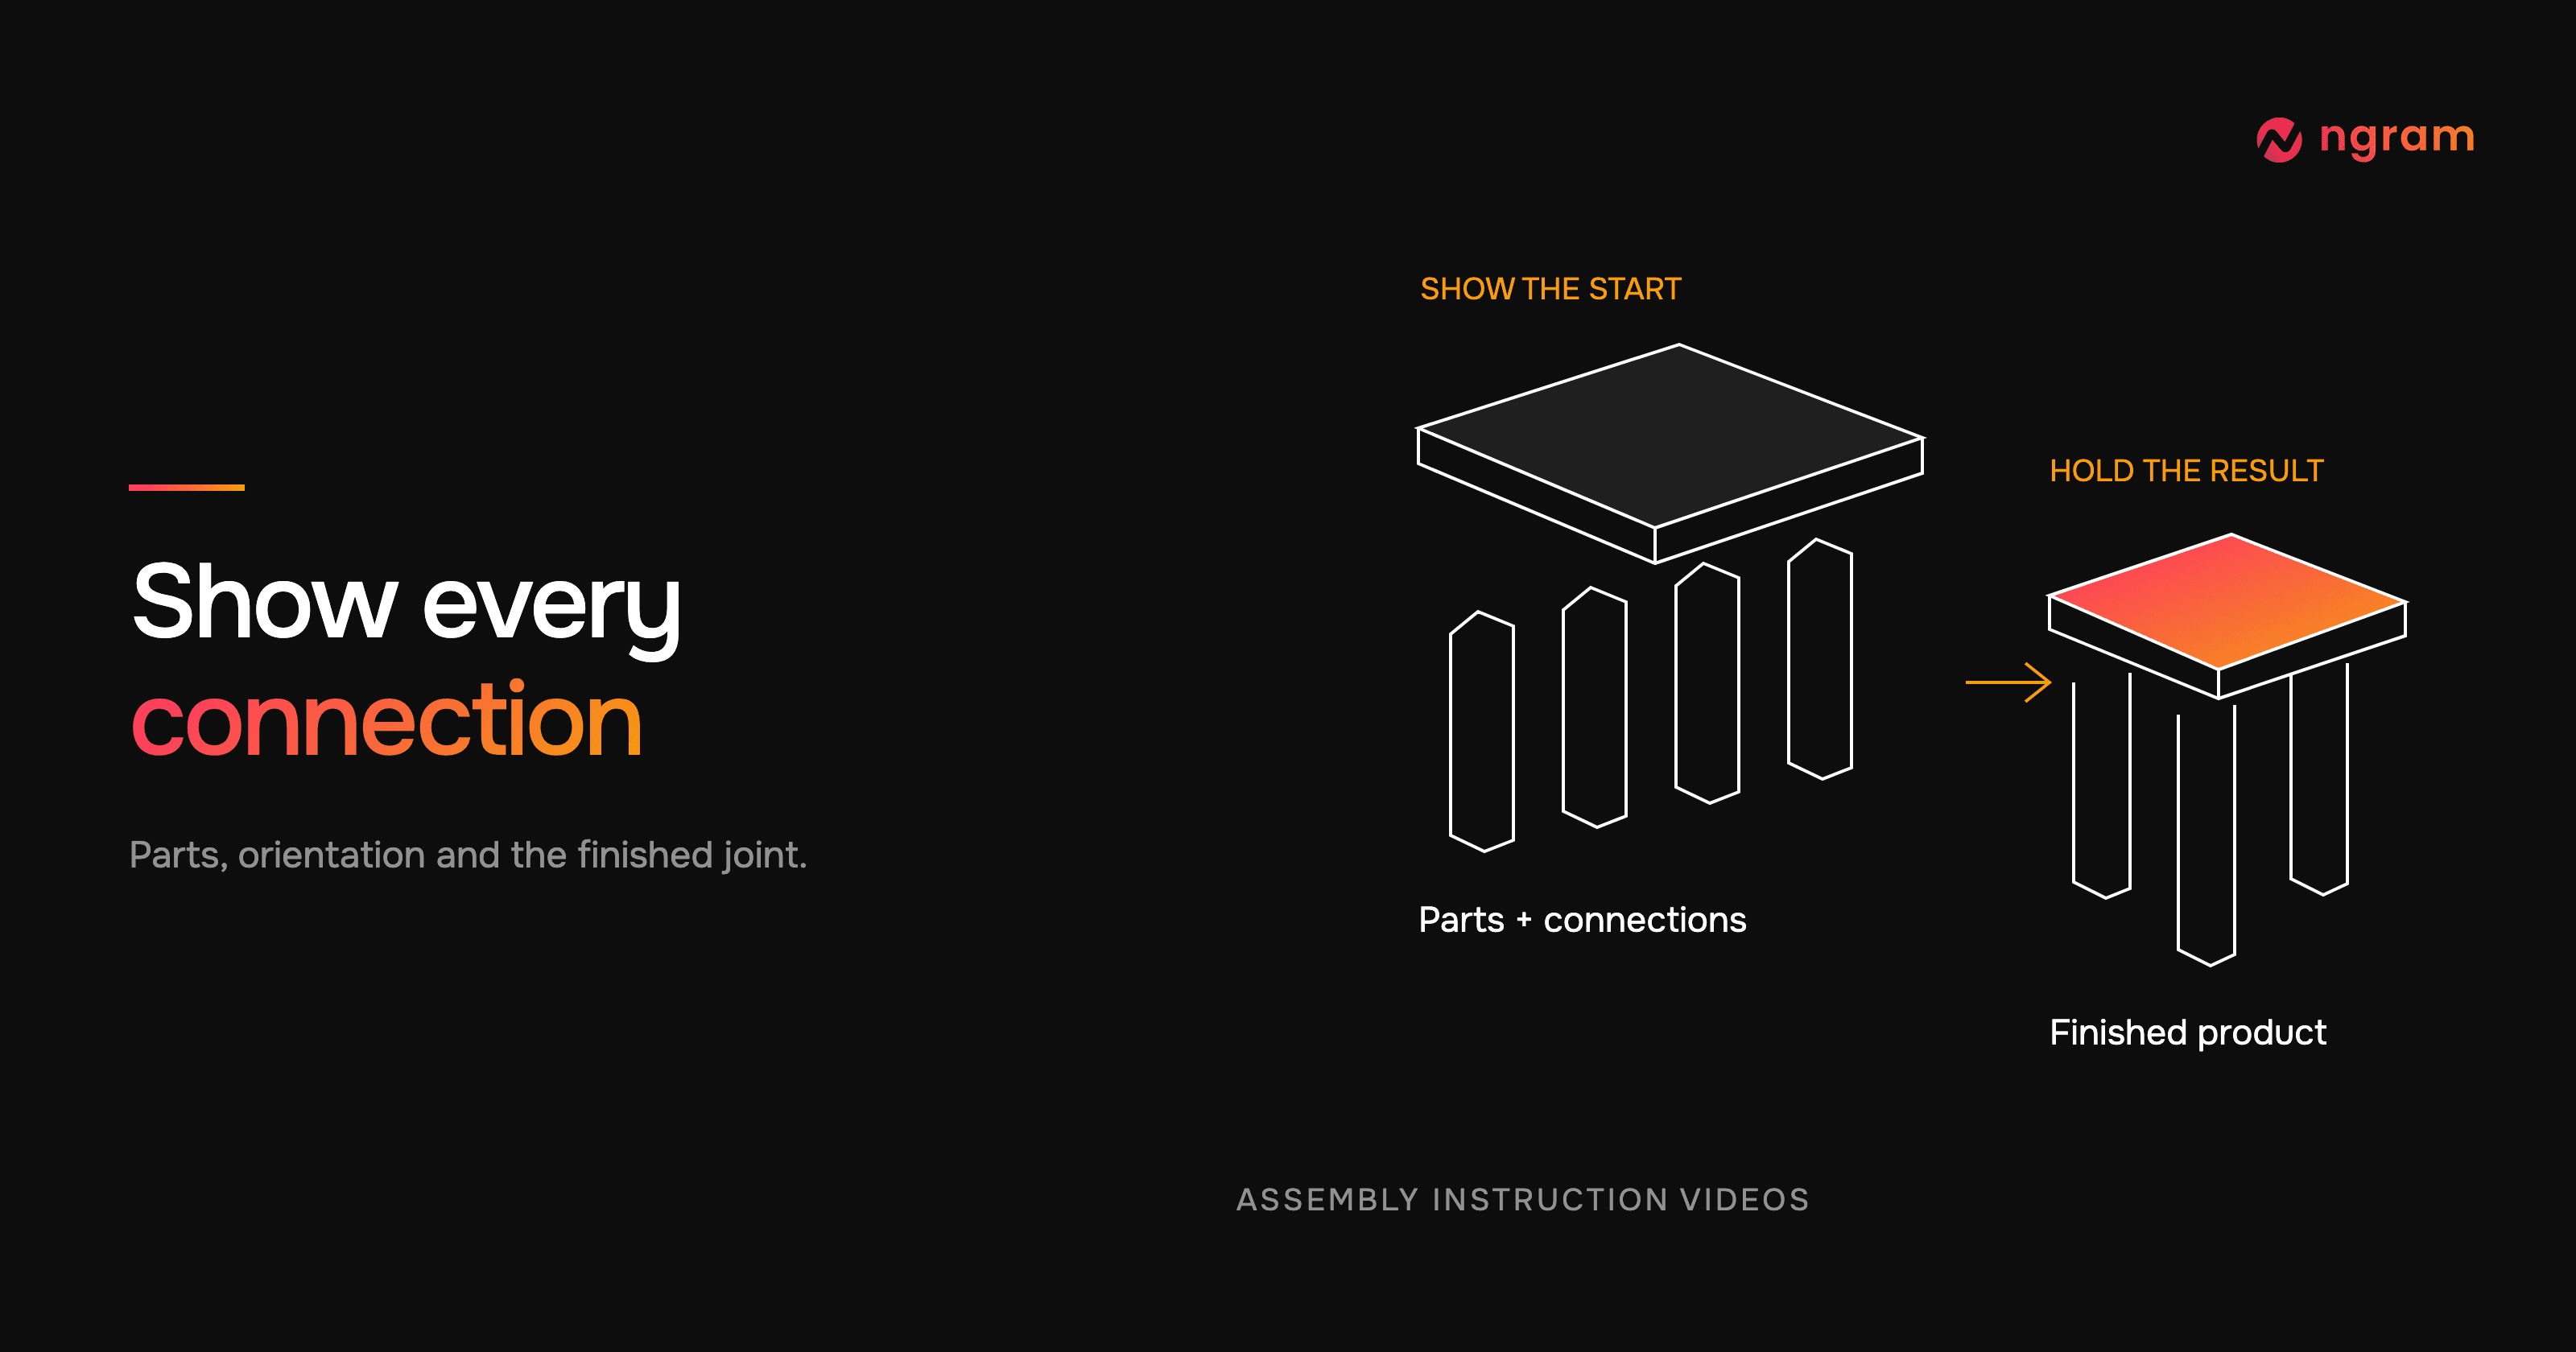
For the side-table video, the input was a public assembly manual and a brief specifying the part count and joining order. The result shows plugs pressing into the legs, screws starting in the tabletop and the legs turning onto them. Read the exact input and watch the output before deciding whether that kind of illustration fits your product.
From this input to this video
An independently illustrated assembly follows IKEA LACK manual AA-2544912-1: parts, foot plugs, screws, attached legs and the finished upright table.
Prompt
Create a 40-second 16:9 assembly explainer for someone putting together an IKEA LACK side table for the first time. Use this manufacturer's manual as the factual source: https://www.ikea.com/es/en/assembly_instructions/lack-side-table-white__AA-2544912-1-2.pdf (manual AA-2544912-1). Show an independently drawn isometric technical illustration in Machine anatomy style, with clear labels and close views of the connections. No presenter. Use friendly English narration, readable labels and no background music. Show the sequence from this exact manual: identify the tabletop, four legs, four foot plugs 153551 and four double-ended screws 115980; protect the tabletop on a soft surface while it is upside down; insert one foot plug into the open end of each leg, pressing it flush by hand as in manual step 1; start each double-ended screw into a predrilled tabletop corner by hand; then turn each leg onto its screw until it meets the tabletop, as in manual step 2; show the same four legs becoming attached, then turn the completed table upright. Preserve the tabletop and all four legs throughout the sequence. Show a close view of one joint so the viewer understands how the screw connects the tabletop and leg, then repeat for the other corners. Keep screw direction and part counts consistent. Do not invent tools, torque values, drilling or product dimensions. Close with the manual's limits in plain English: do not sit on the table; maximum load 10 kg. Add a concise source credit: Independent illustration based on IKEA LACK manual AA-2544912-1. No IKEA logo and no suggestion of endorsement. End on the complete upright table. Let the viewer see each connection long enough to follow it.
Selected style
Machine anatomy
Read the video transcript
Let's build a LACK side table. In the box: one tabletop, four legs, four foot plugs and four double-ended screws. Lay the tabletop upside down on something soft, like a rug, to protect it. Press a foot plug into the open end of each leg by hand until it sits flush. Now start a double-ended screw into each predrilled corner, turning it by hand. Turn a leg onto its screw until it meets the tabletop. The screw joins the two. Repeat for the other three corners. Flip the table upright and it's ready. Please don't sit on it, and keep the load to 10 kg or less.
A side-table assembly, from parts to finished product
Watch the actual illustrated result and read the manual-based brief. Adapt the starter for your product and its current instructions.
Bring the current instructions
Replace the product, manual version, parts and joining order in the brief.
Plan the connections
Use Machine anatomy with Opus 5.5. Review the parts, narration and sequence before approving the plan.
Inspect the finished assembly
Compare the connections and final state with the source, then request specific corrections before sharing.
Make it yours
Fill in your details here, or continue and finish your brief in ngram.
Video generation uses credits. Review your estimate in ngram. MP4 downloads require Basic or higher.
How credits workMethod: this is one ngram example, generated from the displayed manual-based brief with Machine anatomy and Opus 5.5. We reviewed the source sequence and representative frames. The vendor workflows described here come from their public tutorials; we did not run a side-by-side generation or accuracy benchmark.
Choose around the next revision, too
Suppose the next product release changes a connector. In a model-based workflow, ask which engineering revision is authoritative and what the animation process needs to update. In an illustrative workflow, replace the reference and explain the changed connection, then inspect the new result and its neighboring steps. Neither path makes review automatic.
For a classroom revision, the geometry may remain deliberately simplified while the teaching objective changes. A turbine-and-generator lesson for beginners can show their different roles; another lesson may need a closer explanation of electromagnetic induction. Name the new question instead of asking only for a longer version of the same animation.
When the explanation needs an assembly sequence, plan the shot around the connection itself. Read what to show in an assembly instruction video.
Questions to settle before production
Is technical animation the same as CAD animation?
They overlap, but they describe different aspects of the work. Technical animation names the explanation’s purpose. CAD animation identifies a model-based starting point. Decide whether your deliverable needs the existing engineering model or an illustrative view of the concept.
Can an animation prove that a mechanism will work?
An explanatory animation shows the relationship the author chose to depict. A claim about engineering performance needs its own appropriate evidence. Keep measured results and simulation assumptions tied to the relevant engineering work.
Which ngram settings should I choose?
Use Machine anatomy with Opus 5.5. Voice Auto and Presenter No avatar are recommended for narration over the figure. Review the plan and finished component relationships against the source. Follow the technical-animation guide.