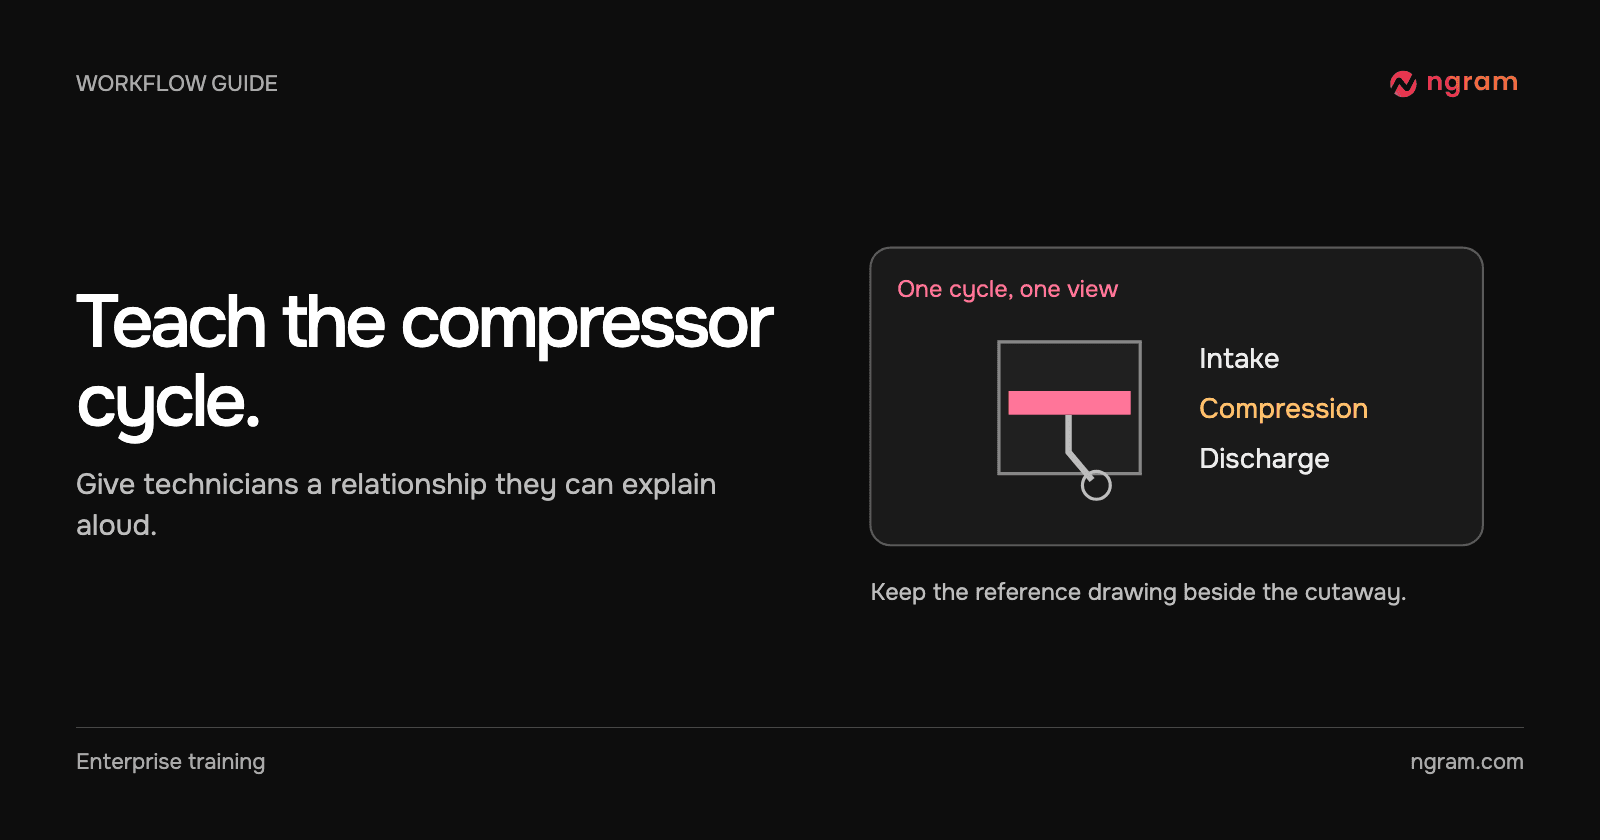

A technician can recognize a sealed compressor on sight and still have trouble picturing what happens inside it. A cutaway is useful for that training question. It can show motion that an exterior photograph conceals, as long as the cutaway matches the mechanism being taught.
Name the compressor before choosing an animation
A reciprocating compressor and a scroll compressor use different mechanisms. Identify the model and the teaching objective first. For a hermetic reciprocating design, the motor-driven crankshaft moves pistons in cylinders; the sequence draws in refrigerant vapor, compresses it and discharges it. Check the manufacturer’s reference for the particular unit. Copeland’s explanation of hermetic reciprocating compressors
Decide what the technician should be able to explain afterward. “Point to the chamber and describe what changes as the piston moves” is a better visual objective than “know compressors.” A diagnosis or maintenance procedure requires model-specific instructions beyond a teaching animation.
Give the artist a fixed viewpoint
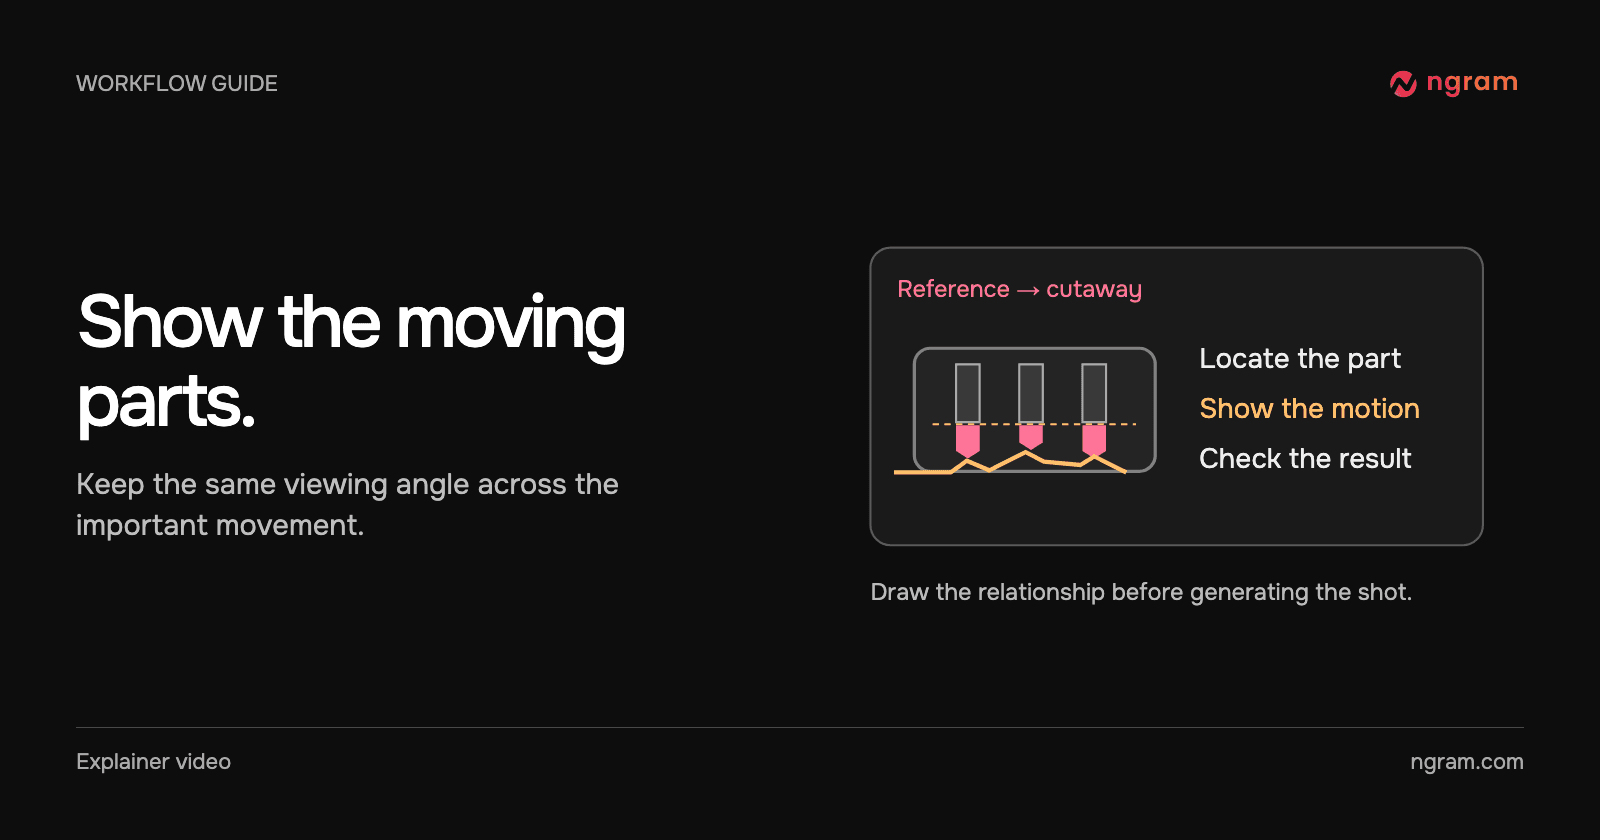
Supply the approved cross-section, component names and direction of travel. Ask for the exterior first, then a cutaway that holds the same viewpoint through the cycle. Color can distinguish stages, but the narration must say what actually changes. Use Machine anatomy to build that sequence.
Try this brief: “Use the attached reciprocating-compressor reference. Keep the housing fixed, label the piston and cylinder, and show the direction of motion during intake, compression and discharge. Omit numerical operating values unless they are supplied in the reference.” Do not borrow illustrative pressure or temperature readings from a different model.
Check that the animation teaches the intended relationship
In this excerpt, the cutaway stays in view while the piston and chamber change. The numerical indicators and color changes make the stages easier to notice. Treat those values as part of the example, not service specifications for another unit. Ask the reviewer to confirm motion, timing and terminology separately.
Give learners a frame they have not seen
Pause your course at another point in the cycle. Ask which component moved, how the available space changed and which stage should follow. If learners name the color instead of explaining the movement, simplify the legend or leave the stage label off until after their answer.
Use the mechanical explainer gallery to compare visual treatments, and the training workflow to pair the animation with a practice question. For hands-on service, learners still need the current approved procedure for their equipment.