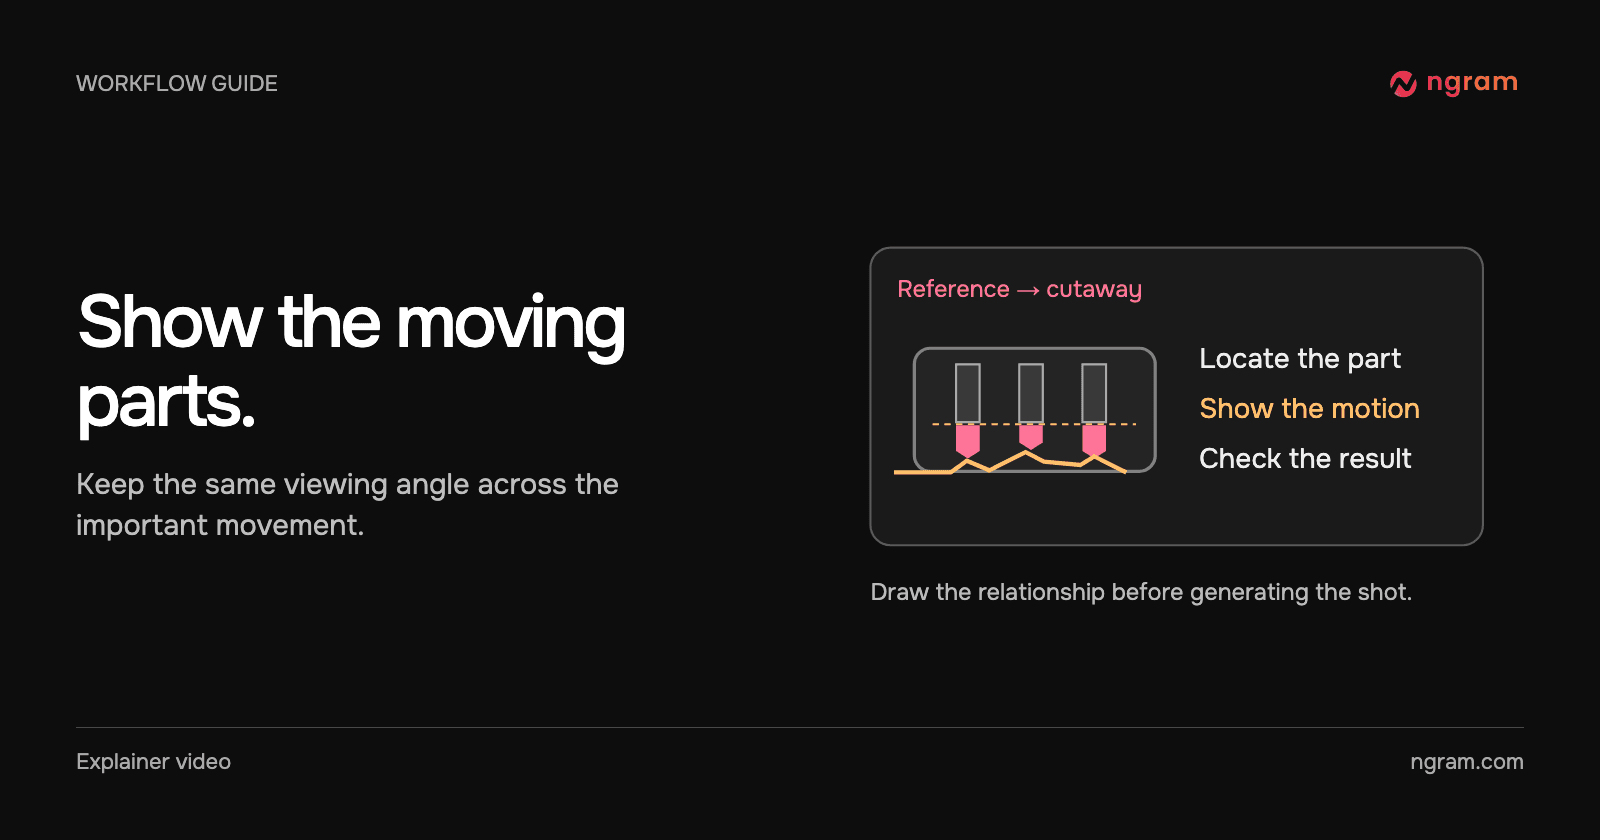

An exterior shot can show where a part sits. It cannot show how one hidden movement brings about the next. A useful mechanical animation gives the viewer a stable view of that relationship. Start with a sentence such as “the key raises the pin stacks into position” instead of a broad request to animate the entire lock.
Choose a reference that answers the question
Gather an approved drawing, annotated still or technical note for the specific mechanism you plan to teach. List the components the viewer needs to recognize. Identify where the movement starts, which component responds and which part of the housing remains fixed. Mark anything the drawing leaves uncertain for the technical reviewer.
For a simple “where is this part?” question, a labeled still may be enough. Choose animation when direction, timing or sequence is essential to the explanation. Keep measurements and part numbers in the source document when exact values matter.
Brief the cutaway in stages
In Studio, select Machine anatomy with a compatible model such as Opus 5.5. Provide the source and name the intended viewer. Example brief: “Explain a pin tumbler lock to a first-year technician. Start with the outside of the cylinder. Move to a fixed cutaway and identify the key and pin stacks. Show the sequence from the reference. Keep the camera still while the parts change position.”
Use technical animation to plan the result. Review the outline before generation: does it give the viewer enough orientation to understand the first cutaway? Would a simple arrow do more than another rotating camera angle?
Watch for a consistent view of the mechanism
The lock example begins with an exterior view, then reveals the cylinder and pin stacks. The key enters the cutaway while labels identify parts of the mechanism. Follow one component through the transition. If you cannot tell whether it moved or the camera moved, the scene needs another pass.
Review the physics and the labeling separately
Have an appropriate reviewer check the moving relationship against the source. Then review what the audience sees: label placement, occluded parts and the first frame where the outcome is clear. If a part travels the wrong way, correct the underlying motion before changing its color or label.
Name the exact issue in the revision, such as “Keep the housing fixed in the second shot and use the orientation from the drawing.” The mechanical example gallery offers other treatments. Use the source attachment guide when a diagram needs to control the explanation.