Exploded view Video Style
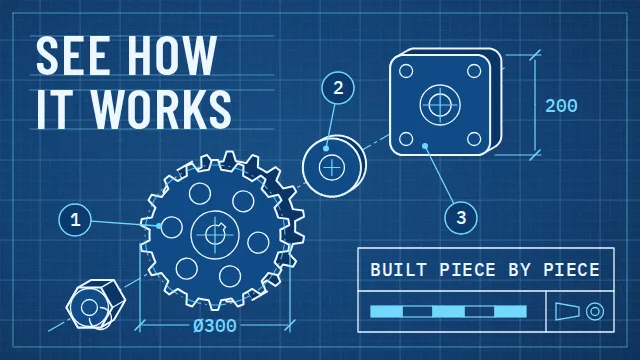
Flat-shaded 3D parts pulled apart like an assembly manual.
See it in action with UltiMaker Cura print preparation.
From this input to this video
A walkthrough of Cura’s documented slicing workflow using official product images and labeled diagrams.
Create a 30-second product demo video for UltiMaker Cura, a 3D-printing slicing software for product-development and manufacturing teams preparing 3D prints. Open with the operational problem: turning a 3D model into printer-ready instructions with the right settings. Then walk through the slicing workflow and recommended print profiles described on the official Cura page solving it, using the actual product images and guidance on https://ultimaker.com/software/ultimaker-cura/ to show the real product — do not invent fictional screens or hardware. Tone: clear and technical without jargon. End on the logo with the line Explore UltiMaker Cura. Voiceover language: English; if no voiceover, use on-screen captions and background music only. Use original product imagery for any interface or hardware shown, with labels and highlights. Keep illustrative diagrams visually distinct from the real product; do not invent product screens, data or capabilities.
Read the exact input
Prompt
Create a 30-second product demo video for UltiMaker Cura, a 3D-printing slicing software for product-development and manufacturing teams preparing 3D prints. Open with the operational problem: turning a 3D model into printer-ready instructions with the right settings. Then walk through the slicing workflow and recommended print profiles described on the official Cura page solving it, using the actual product images and guidance on https://ultimaker.com/software/ultimaker-cura/ to show the real product — do not invent fictional screens or hardware. Tone: clear and technical without jargon. End on the logo with the line Explore UltiMaker Cura. Voiceover language: English; if no voiceover, use on-screen captions and background music only. Use original product imagery for any interface or hardware shown, with labels and highlights. Keep illustrative diagrams visually distinct from the real product; do not invent product screens, data or capabilities.
Selected style
Exploded view
Source material
Read the video transcript
Every print starts with the same job: turning a 3D model into printer-ready instructions, with the right settings. UltiMaker Cura handles it. Load your model, then choose your printer and material. Pick a recommended profile, tested for thousands of hours, or an intent profile for your application. Click Slice, and Cura's open-source engine builds every layer. Need more control? Custom mode offers over four hundred settings. Explore UltiMaker Cura.
Make it yours
Fill in your details here, or continue and finish your brief in ngram.
Trusted by teams at


When to use Exploded view
Separate the parts
An exploded view shows components individually while preserving their relationship to the whole. Name the pieces that matter to the viewer.
Reassemble around the explanation
Use movement to connect a component to its function. Keep labels near the parts they describe.
Provide accurate component information
Supply product diagrams, documentation or photographs. Explain which relationships must be faithful and which views are illustrative.
What to bring
Supply product diagrams, documentation or photographs. Explain which relationships must be faithful and which views are illustrative.
Related video styles
Compare a few directions before you start your draft.
Put this style to work
Video workflows for your team
Refine your video in ngram
Connect your video workflow
whenThe finished manufacturing product demo is ready for a product-channel upload
thenVerify the YouTube destination before composing the manufacturing product demo post.
whenThe finished manufacturing product demo is ready for a buyer-facing LinkedIn post
thenVerify the LinkedIn destination before composing the manufacturing product demo post.
whena new product version ships
thenauto-render a demo and notify the sales team
Start with your existing material
Style template questions
Will my selected style survive sign-in?
Continue with your brief and chosen style in ngram. You can fill in the remaining details or change your selections before creating the video.
Can I change the style in Studio?
Yes. The selected style is a starting point. You can choose another active style or adjust the video before generation.
Does the template copy the preview video?
Your brief starts a new video using the chosen visual direction. Add your own source material and adjust the settings to make it yours.
What source material should I bring?
Use your own product links, screenshots, recordings or documents. The example’s exact input shows how source material and a filled-in brief work together. Add your own material in ngram before creating the video.
Can I use my brand with this style?
Yes. Set up your Brand Kit first, then select it while creating your video. You can also turn on captions and adjust your video in ngram.