Wireframe cutaway Video Style
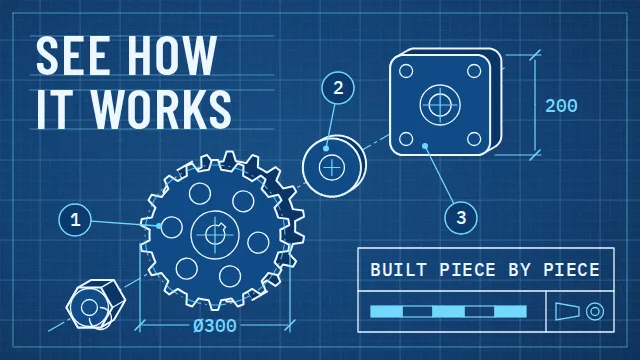
One object shown solid, as wire outline and in cross-section.
See it in action with PlanRadar ticket creation.
From this input to this video
A ticket-creation walkthrough using PlanRadar’s official help screenshots, framed by wireframe plan graphics.
Create a 60-second construction software product demo for PlanRadar, a construction task management platform for site teams documenting issues on a plan. Use only the official WebApp screenshots at https://help.planradar.com/en/create-a-ticket/ and follow the supplied screens in order. Open on an issue needs a clear location and enough detail for the team to act. Then show selecting the project and location, then opening the Tickets plan view, placing a ticket pin on the plan and confirming its position, and selecting a form, filling its required fields and saving the ticket in the real UI. Do not invent screens or stock jobsite scenes. Keep the style minimalist, confident, and practical. End on Explore ticket workflows in PlanRadar. Preserve the original interface and public example data. Place wireframe and cutaway accents around the screenshots, not in place of them. If a step has no screenshot, use a labeled instruction; do not invent project details, defects or results.
Read the exact input
Prompt
Create a 60-second construction software product demo for PlanRadar, a construction task management platform for site teams documenting issues on a plan. Use only the official WebApp screenshots at https://help.planradar.com/en/create-a-ticket/ and follow the supplied screens in order. Open on an issue needs a clear location and enough detail for the team to act. Then show selecting the project and location, then opening the Tickets plan view, placing a ticket pin on the plan and confirming its position, and selecting a form, filling its required fields and saving the ticket in the real UI. Do not invent screens or stock jobsite scenes. Keep the style minimalist, confident, and practical. End on Explore ticket workflows in PlanRadar. Preserve the original interface and public example data. Place wireframe and cutaway accents around the screenshots, not in place of them. If a step has no screenshot, use a labeled instruction; do not invent project details, defects or results.
Selected style
Wireframe cutaway
Source material
Read the video transcript
On site, an issue only gets fixed when it has a clear location and enough detail for the team to act. In the PlanRadar WebApp, start with the project and location menu. Pick the project, then the folder or plan the ticket belongs to. Click Tickets, and in the View drop-down, choose Plan. The drawing opens beside your ticket list. Right-click the plan to place the ticket pin. Drag it if it needs adjusting, then click the green check mark to confirm the position. Next, select a form. Choose it before you start, because changing the form later clears the fields. Fill in every mandatory field, like the title, then click Save, or Save and close. Once saved, tickets sync across devices when you're online. Explore ticket workflows in PlanRadar.
Make it yours
Fill in your details here, or continue and finish your brief in ngram.
Trusted by teams at


When to use Wireframe cutaway
Reveal the inside
A wireframe cutaway can explain something that is hidden from an exterior view. Define the internal structure before choosing a visual metaphor.
Use depth to clarify
Separate outer and inner layers with a clear sequence. Keep important boundaries and labels readable while the view changes.
Ground the cutaway
Provide the real architecture or component description. State when a diagram is conceptual so it is not mistaken for an engineering drawing.
What to bring
Provide the real architecture or component description. State when a diagram is conceptual so it is not mistaken for an engineering drawing.
Related video styles
Compare a few directions before you start your draft.
Explore related video examples
Put this style to work
Video workflows for your team
Refine your video in ngram
Connect your video workflow
whenThe finished construction software demo is ready for a company post.
thenCompose the construction software demo for LinkedIn, then publish it now.
whenThe finished construction software demo is ready for the product channel.
thenPublish the construction software demo to YouTube after composing the post.
whena launch task changes status
thenstart a video workflow from the tools your team already uses
Start with your existing material
Style template questions
Will my selected style survive sign-in?
Continue with your brief and chosen style in ngram. You can fill in the remaining details or change your selections before creating the video.
Can I change the style in Studio?
Yes. The selected style is a starting point. You can choose another active style or adjust the video before generation.
Does the template copy the preview video?
Your brief starts a new video using the chosen visual direction. Add your own source material and adjust the settings to make it yours.
What source material should I bring?
Use your own product links, screenshots, recordings or documents. The example’s exact input shows how source material and a filled-in brief work together. Add your own material in ngram before creating the video.
Can I use my brand with this style?
Yes. Set up your Brand Kit first, then select it while creating your video. You can also turn on captions and adjust your video in ngram.