Conversation Video Style
Two or more presenters, each with their own voice, talk it through.
See it in action with Cliniko Online Bookings.
From this input to this video
Two AI presenters explain the booking workflow using Cliniko’s public guide and original demonstration, pairing practical questions with the product screens.
Create a 60-second product demo video for Cliniko Online Bookings, a patient appointment-booking tool used by practice managers in clinics that offer online booking. Open on the problem: giving patients a clear way to find available appointments. Then walk through the public booking-page workflow shown in the official guide at https://help.cliniko.com/en/articles/1023955-a-quick-overview-of-online-bookings, including available appointment choices and basic booking details step by step, narrating against the real UI or my uploaded screen recording — do not invent screens. Visual style: Conversation: two AI presenters discussing the workflow, alternating with original product demonstration footage and restrained callouts. Brand feel: calm and professional. End with the logo and the line Explore Cliniko’s online booking guide. Voiceover: English; if no voiceover, use clean on-screen captions and light background music. Use the public guide’s screenshots and embedded demonstration for product visuals. Two AI presenters should discuss the workflow: one asks practical questions and the other explains. Give each a distinct voice; neither should claim to be a clinician, customer or company representative. Blur any patient identifiers. Do not log in, submit appointments, invent clinical outcomes or imply that a booking time is currently available.
Read the exact input
Prompt
Create a 60-second product demo video for Cliniko Online Bookings, a patient appointment-booking tool used by practice managers in clinics that offer online booking. Open on the problem: giving patients a clear way to find available appointments. Then walk through the public booking-page workflow shown in the official guide at https://help.cliniko.com/en/articles/1023955-a-quick-overview-of-online-bookings, including available appointment choices and basic booking details step by step, narrating against the real UI or my uploaded screen recording — do not invent screens. Visual style: Conversation: two AI presenters discussing the workflow, alternating with original product demonstration footage and restrained callouts. Brand feel: calm and professional. End with the logo and the line Explore Cliniko’s online booking guide. Voiceover: English; if no voiceover, use clean on-screen captions and light background music. Use the public guide’s screenshots and embedded demonstration for product visuals. Two AI presenters should discuss the workflow: one asks practical questions and the other explains. Give each a distinct voice; neither should claim to be a clinician, customer or company representative. Blur any patient identifiers. Do not log in, submit appointments, invent clinical outcomes or imply that a booking time is currently available.
Selected style
Conversation
Read the video transcript
Patients keep asking one thing: when can I actually get in? How do we show them that clearly? Cliniko gives each clinic its own online bookings page, and patients don't need a login. So what does a patient see first? They pick a location, then a service. You decide which ones appear, and whether prices and durations show. And choosing who they see? A specific practitioner, or simply any practitioner. Does it show the whole diary? No. It offers the first open time in each morning, afternoon and evening, based on your schedule. If you're unavailable, that time just isn't offered. Then the patient adds their details? Just the basics. Cliniko matches them to an existing record, or creates a new one. Clear choices for patients, and less time on the phone for us. Explore Cliniko's online booking guide.
Make it yours
Fill in your details here, or continue and finish your brief in ngram.
Trusted by teams at


When to use Conversation
Give each speaker a purpose
One presenter can ask the viewer’s questions while another explains the workflow. Clear roles make the exchange easy to follow.
Keep the exchange moving
Use short turns and one topic at a time. State which questions matter most so the conversation reaches a useful answer within the chosen length.
Show what the speakers explain
Bring in real screenshots, documents or footage when the conversation refers to a feature. Connect each source visual to the point being discussed.
What to bring
Provide the source material and the questions your audience asks. Define the presenters’ roles, tone and takeaway so the conversation stays grounded in the facts.
Related video styles
Compare a few directions before you start your draft.
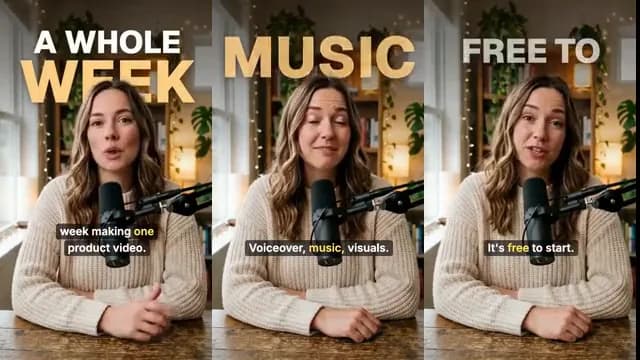
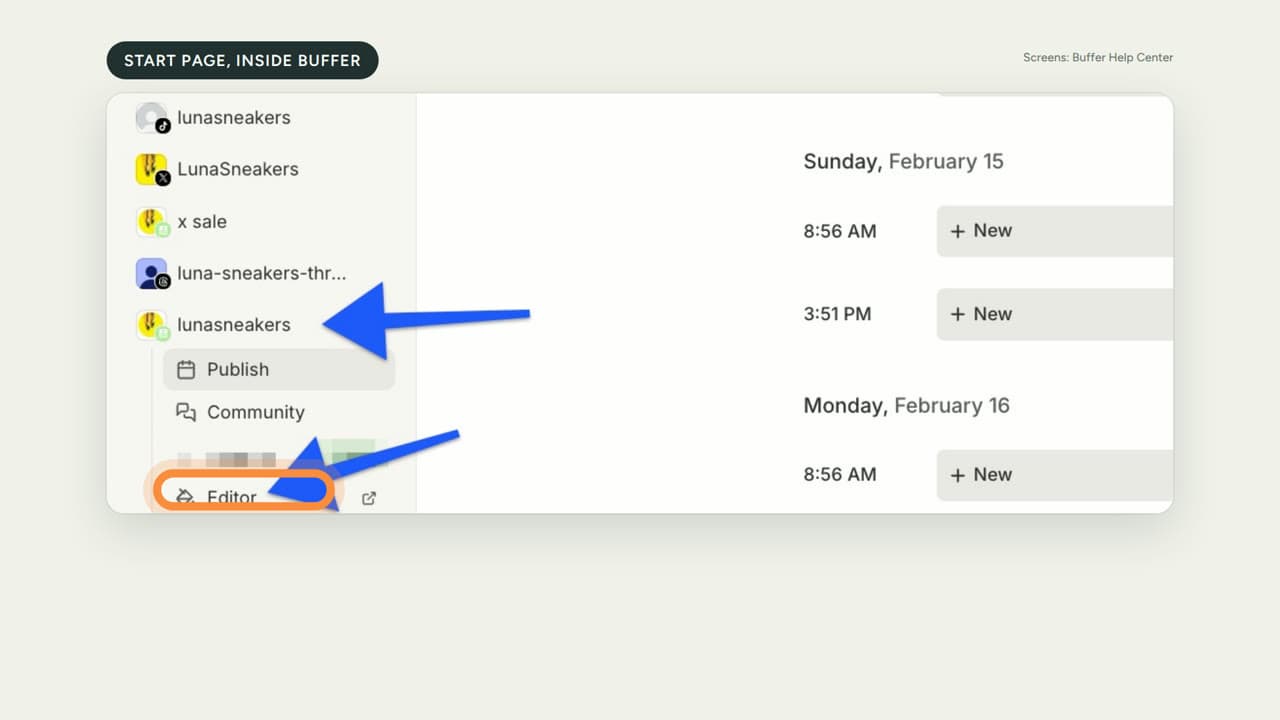
Video workflows for your team
Refine your video in ngram
Connect your video workflow
whenThe finished healthcare buyer demo is ready for a buyer-facing LinkedIn post
thenConfirm the LinkedIn destination, then compose the healthcare buyer demo post.
whenThe finished healthcare buyer demo is ready for a product-channel upload
thenVerify YouTube as the destination, then compose the healthcare buyer demo post.
whena product milestone ships
thenauto-render a demo and notify the sales team
Style template questions
Will my selected style survive sign-in?
Continue with your brief and chosen style in ngram. You can fill in the remaining details or change your selections before creating the video.
Can I change the style in Studio?
Yes. The selected style is a starting point. You can choose another active style or adjust the video before generation.
Does the template copy the preview video?
Your brief starts a new video using the chosen visual direction. Add your own source material and adjust the settings to make it yours.
What source material should I bring?
Use your own product links, screenshots, recordings or documents. The example’s exact input shows how source material and a filled-in brief work together. Add your own material in ngram before creating the video.
Can I use my brand with this style?
Yes. Set up your Brand Kit first, then select it while creating your video. You can also turn on captions and adjust your video in ngram.