Exporting Audio in Ableton Live 12 | made with ngram

About the video
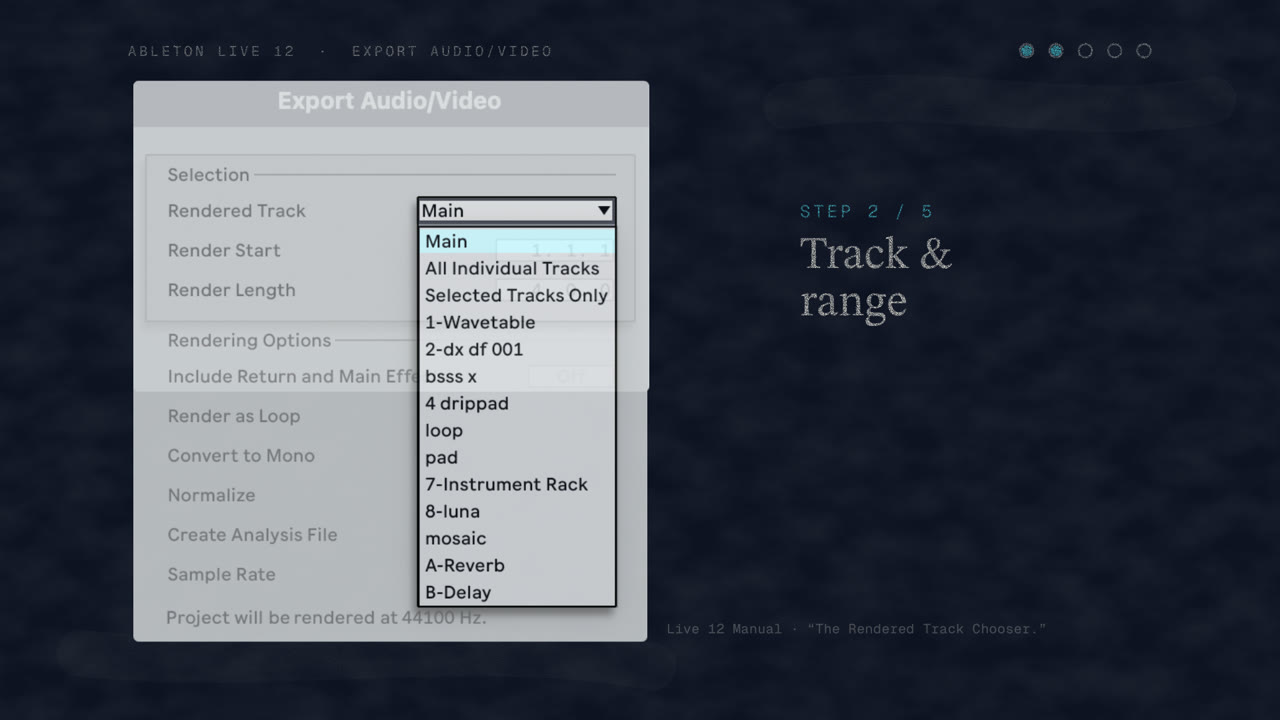
This video was created by ngram to walk through how to export a finished track as an audio file from a Live Set in Ableton Live 12. Using HTML/CSS motion graphics in a 16:9 format, the video follows a clear step-by-step structure: opening the Export Audio/Video dialog from the File menu or with the Command-Shift-R (Mac) or Control-Shift-R (Windows) shortcut, selecting what to render using the Rendered Track option, and setting the Render Start and Render Length to define the export range. It then covers choosing the sample rate under Rendering Options, keeping Encode PCM enabled, selecting a file type such as WAV, AIFF, or FLAC, and setting the bit depth to 16, 24, or 32. The video closes by showing how to click Export and choose a save location to complete the process. Structured around scenes labeled Goal, Step 1 through Step 5, and a Recap, the video gives viewers a concise, practical reference for exporting audio correctly in Ableton Live 12, making it useful for musicians and producers who want to share or distribute a finished track.
- #ableton live
- #audio export
- #music production
- #tutorial
- #daw
- #motion graphics