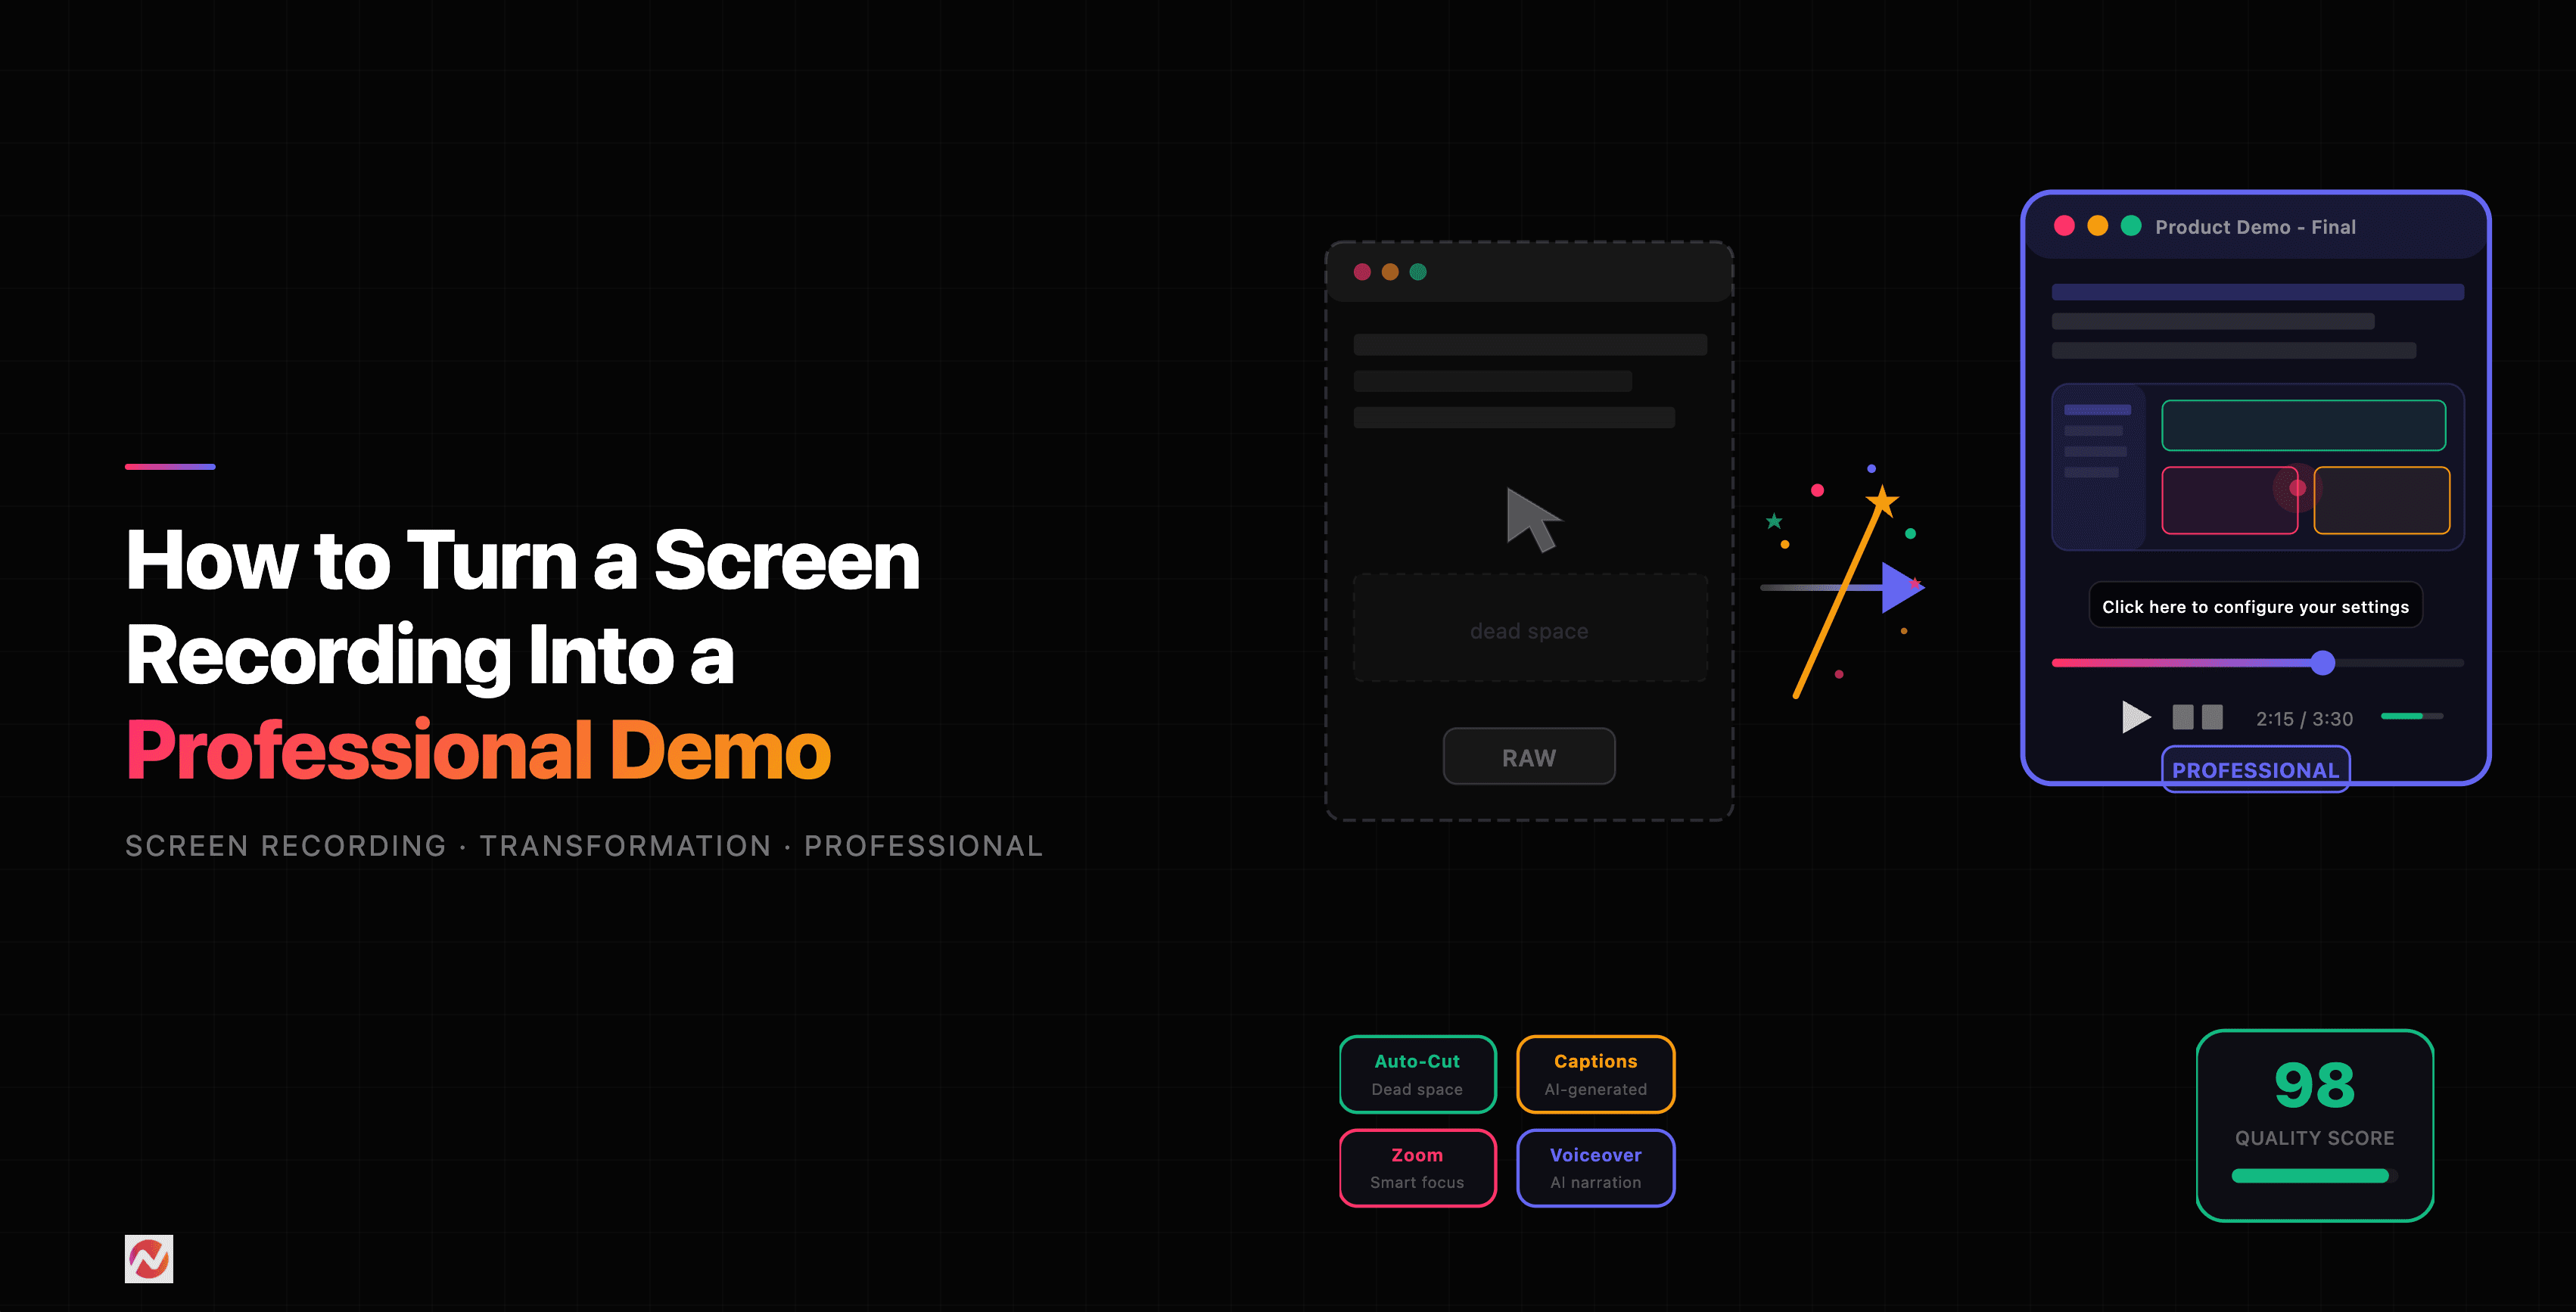
The Gap Between Raw and Polished
You hit record. You capture 20 minutes of screen activity. You watch it back and realize it's 15 minutes of dead air, mouse wandering, awkward pauses, and unclear context. Sound familiar? Most people record with genuine intent but end up with footage that needs serious help.
The good news: transforming a raw screen recording into a professional demo is entirely learnable. It's not magic or expensive. It's a process.
Common Problems in Raw Screen Recordings
Before we talk solutions, let's name the problems you're facing.
Dead air and silence. Raw recordings often contain long stretches where nothing interesting happens. You're reading something off-screen, thinking about your next move, or waiting for something to load. These moments kill engagement.
Unclear context. You know what you're showing because you're showing it. Your audience doesn't. A raw recording of you clicking buttons without explanation feels like watching someone use someone else's software.
Excessive detail. You might click a menu, hover over an option, click it again. These micro-actions seem necessary when you're recording but feel repetitive when someone watches it back.
Poor pacing. Mouse movements that are too slow or too fast, scrolling that's jerky, or transitions that feel clunky. These small details add friction.
No visual hierarchy. Everything on screen has the same visual weight. You want viewers to focus on what matters, but a raw recording makes that impossible.
The Transformation Framework
Turning raw into professional follows this sequence: Plan > Record > Cut > Enhance > Add Depth > Publish.
Let's walk through each step.
Step 1: Plan Before You Record
The best editing happens before you hit record. Too many people skip this, then spend hours fixing footage that could have been captured correctly from the start.
Write down five things: your hook (why this demo matters), the main problem you're solving, the key workflow you want to show, the result people should see, and the call to action.
Close unnecessary applications. Clear your desktop. Resize your window to a consistent size. Set a reasonable zoom level so text is readable without being huge. This prep work saves hours of editing later.
Step 2: Record in Short Segments
Professional video editors rarely record start-to-finish in one take. Instead, they capture 5-10 minute segments, pause, reset, then capture the next section. This approach gives you natural break points and reduces mistakes.
When you make an error or lose your place, stop recording. Don't just pause and hope the video editor will fix it. You need clean footage to work with.
Step 3: Cut Ruthlessly
Import your segments into a video editor and scrub through the footage. Mark sections to delete: dead air, thinking pauses, mistakes, filler words, slow scrolling, and unnecessary clicks.
Here's the rule: make the video as long as information needs to be covered, but as short as possible. Seconds matter. A 30-second demo that's tight and punchy beats a 2-minute wandering tour every time.
Source: Animoto Screen Recording Tips
This chart shows the typical reduction in duration as you move through the editing process. A 20-minute raw recording might become a 6-minute polished demo after cuts, enhancements, and pacing adjustments.
Step 4: Add Visual Enhancement
Now your footage is lean. Time to make it look intentional.
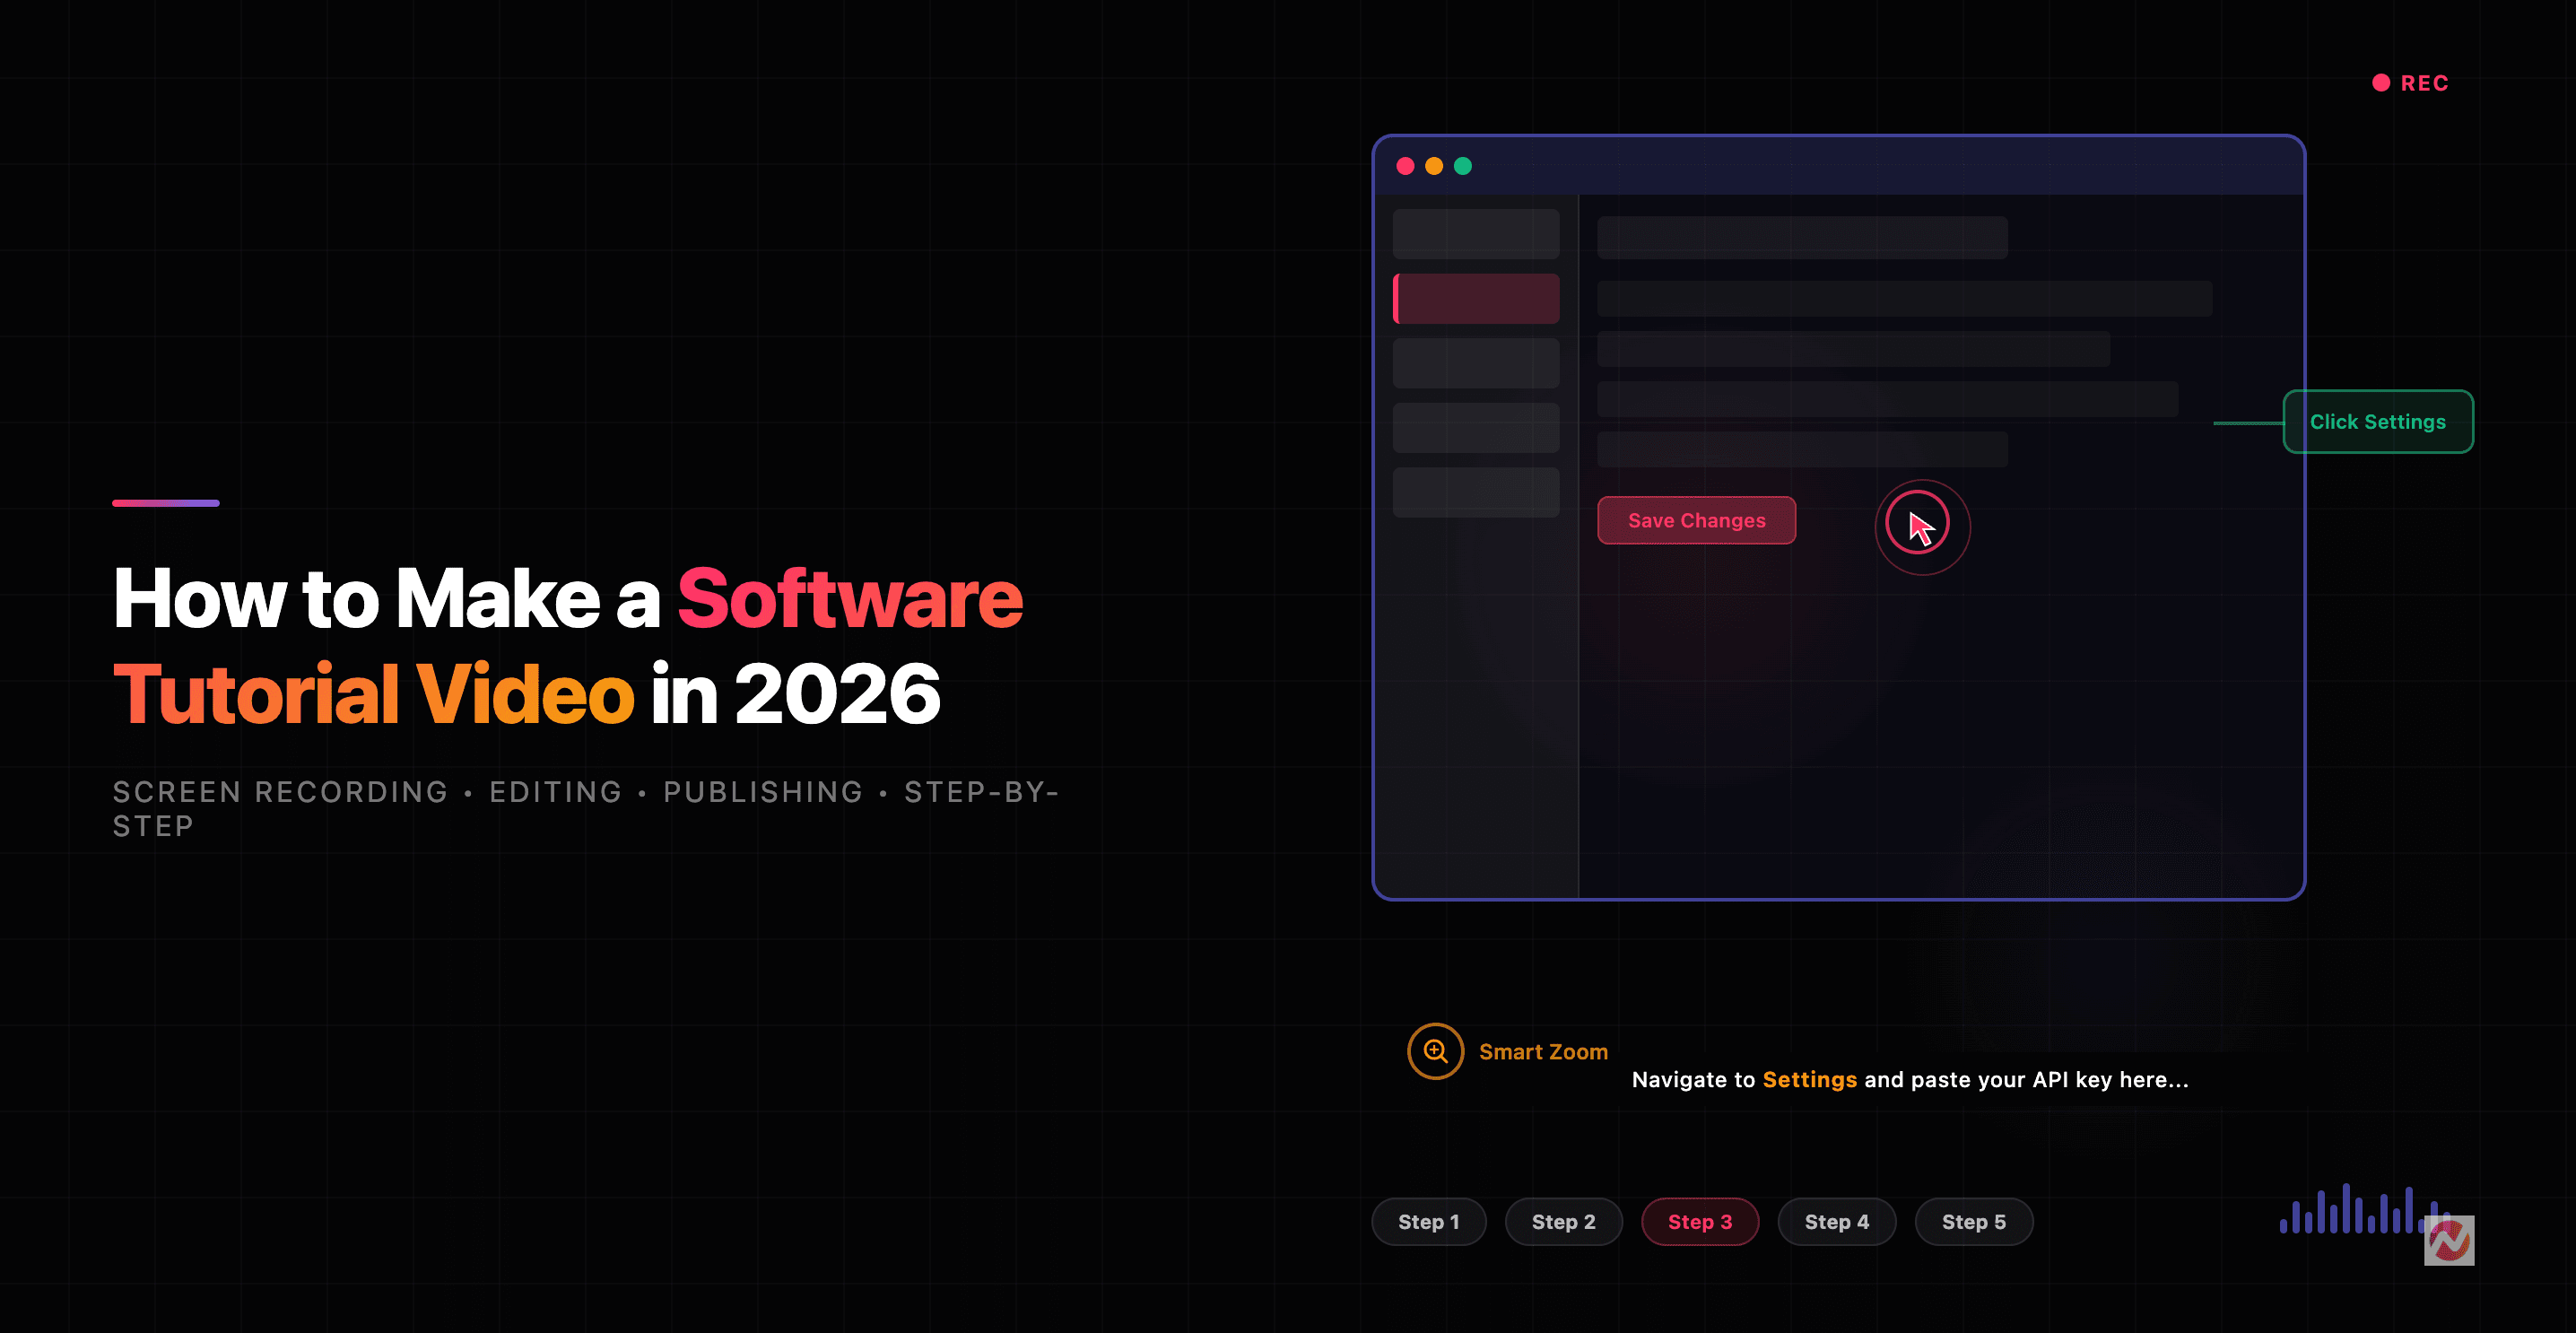
Zoom and pan. When you're showing a specific button or field, zoom in so viewers see exactly what you're pointing at. This is where tools like ngram's smart zoom feature shine, automatically detecting important areas and magnifying them.
Callouts and arrows. Add visual indicators (circles, arrows, annotations) to highlight clickable elements or important details. Don't assume viewers see what you see.
Captions. Add text to key moments: "Click here," "This field accepts email addresses," "Wait for the result." Captions serve dual purposes: they help deaf viewers and they reinforce what's happening on screen. According to HubSpot research, videos with captions are watched to completion 80% more often.
Cursor emphasis. If your cursor is hard to follow, add a spotlight effect or highlight circle around it. Many viewers are watching on small screens and need visual guidance.
Step 5: Control Pacing
A raw recording plays in real-time. That's often too slow.
Speed ramping. Slow sections can play at normal speed. Transitions, loading screens, or less critical moments can be sped up to 1.5x or 2x. This keeps energy high without feeling rushed.
Transitions. A simple cut from one screen to the next is clean and professional. Fancy transitions usually feel dated, so use them sparingly if at all.
Audio layering. A voiceover track is powerful. Record your script separately, then layer it over the video. This lets you control pacing and clarity independent of what you're actually showing on screen.
If you don't want to record your own voiceover, consider AI voiceover options. Tools now support dozens of voices and languages with surprising naturalness.
Source: ScreenPal Best Practices Guide
Editing effort isn't distributed equally. Cutting takes the most time, followed closely by visual enhancements that make the demo feel intentional.
Tools That Automate the Work
Manual editing is fine for one demo. But if you're creating demos regularly, automation tools save enormous time.
The Traditional Approach
Camtasia and DemoCreator are the workhorse tools. They let you record directly into an editor, then trim, add callouts, captions, and transitions in one place. Camtasia is especially strong for educators and course creators. If you're building software tutorials, Camtasia's polish is worth the learning curve.
OBS Studio (free) is the choice for high-quality, long-form recording without paying anything. The 2026 updates include smart plugins for noise removal, auto-scene detection, and AI-powered enhancements. It's powerful but steeper learning curve.
The AI-Powered Approach
Recent tools use AI to handle much of the work for you.
Descript treats video like text. You edit a transcript and the video updates automatically. Filler words get removed with one click. This paradigm is remarkable if you're comfortable with transcript-based editing.
SnapDemo and AI Studios take it further. You upload a raw recording and AI generates a script, adds voiceover, syncs captions, and builds a narrated demo automatically. The AI actually watches what's on screen and narrates contextually, not generically.
Veed.io offers cloud-based editing with AI captions in 120+ languages, auto-subtitles, smart removal of background noise, and instant adjustments. The interface is intuitive and collaboration-friendly.
We built ngram's screen recording editor specifically for this workflow. It combines automatic trimming, smart zoom that follows your actions, one-click callouts, AI captions, and auto-editing to transform raw footage into polished demos in minutes instead of hours.
Source: Toolradar 2026 Screen Recording Software Review
AI tools excel at ease and automation but may produce less polish than traditional editors. Traditional editors require more work but give you complete control. The choice depends on your workflow.
ngram's Auto-Editing Workflow
Here's how we've streamlined this at ngram:
Record once. No need for multiple takes or segment-by-segment recording. We handle the heavy lifting.
Auto-cut removes dead air. Our system detects silence, long pauses, and filler words automatically and removes them. What took hours of manual scrubbing takes seconds.
Smart zoom follows your cursor. When you interact with the screen, ngram detects it and automatically zooms the relevant area. No manual keyframe animation needed.
One-click callouts. Add circles, arrows, or text boxes to important elements without pixel-perfect placement. They just work.
AI captions in seconds. Generate captions instantly in 120+ languages. Each caption is timed perfectly to the audio.
Instant voiceover. Choose from dozens of AI voices or upload your own. No recording booth needed.
The result: a raw recording becomes a professional demo in minutes. We've cut editing time by 90% compared to traditional workflows.
Want to try it? Try ngram free - your first video takes under 5 minutes.
The Real Skill: Intentionality
All the tools in the world can't replace one thing: clear thinking about what your demo should accomplish.
Before you record anything, know your audience. Know what one thing you want them to understand. Know the problem your demo solves. A polished demo of the wrong thing is still the wrong thing.
Once you're clear on that, the mechanics of transforming raw footage into professional video become straightforward. Cut ruthlessly. Enhance intentionally. Add context where viewers need it. Remove everything else.
Frequently Asked Questions
How long should a demo video actually be?
Most viewers stick with videos under 5 minutes. According to Wyzowl's 2026 report, completion rates drop significantly after the 5-minute mark. Aim for 2-4 minutes when possible. If you have more to show, break it into multiple focused videos instead of one long tour.
Can I use AI voiceover or do I need to record my own?
AI voiceover has improved dramatically. Modern voices sound natural and you can control pacing and emphasis. Many people prefer AI voiceover because it's faster, requires no equipment, and eliminates the need for multiple takes. That said, a human voice can convey personality in ways AI still can't match. If building personal connection matters (like founder updates or customer testimonials), record your own. For product tutorials and feature demos, AI voiceover works great.
What resolution should I record at?
Record at the resolution your audience will watch. If most viewers will watch on phones, 1080p is plenty. If desktop viewing is primary, 1440p or 4K gives you room for zooming without pixelation. Higher resolution also lets you crop and reframe shots during editing.
Should I add background music to demo videos?
Background music should be subtle and only where it makes sense. Use music during transitions or lower-intensity moments. During narration, keep music quiet or remove it entirely - clarity matters more than soundscape. Royalty-free music libraries like Unsplash or your video editor's built-in options are usually fine. Just don't make music the main event.
How do I handle mistakes or restarts in the middle of recording?
Stop recording and reset. Don't try to talk through a mistake or restart on-camera. A clean re-record of that section is always better than the viewer watching you recover. This is why recording in short segments is valuable - mistakes affect only one segment, not the whole video.
What's the difference between screen recording and screen capture?
They're often used interchangeably but technically: screen recording captures video (and usually audio) over time. Screen capture is a single snapshot. For demos, you need recording, not capture. Make sure whatever tool you choose supports video recording at minimum.
Can I create a professional demo with free tools?
Absolutely. OBS Studio is free and professional-grade. Veed.io has a free tier. Even basic tools like built-in screen recorders on Mac (QuickTime) or Windows can capture quality footage. The limitation with free tools is usually automation and polish features. You'll spend more time editing manually, but the end result can still be excellent.
The Bottom Line
Transforming a raw screen recording into a professional demo isn't complicated. It's methodical. Plan before you record. Capture clean footage. Cut ruthlessly. Enhance deliberately. Add context where needed. Remove everything else.
Tools can accelerate this process significantly, especially AI-powered tools that automate the repetitive parts. But the core skill is clarity: knowing what your demo should accomplish and ruthlessly serving that goal.
The goal isn't a perfect video. The goal is a video that helps someone understand your product in 3 minutes instead of 30. Everything else is detail.